Replace a broken string
Replacing the đàn tranh string is like taming the dragons… They are thin, tiny and unruly but together they sing fantastic tunes under your fingers… you do need science at each step (something called, material integrity) to put them in place.
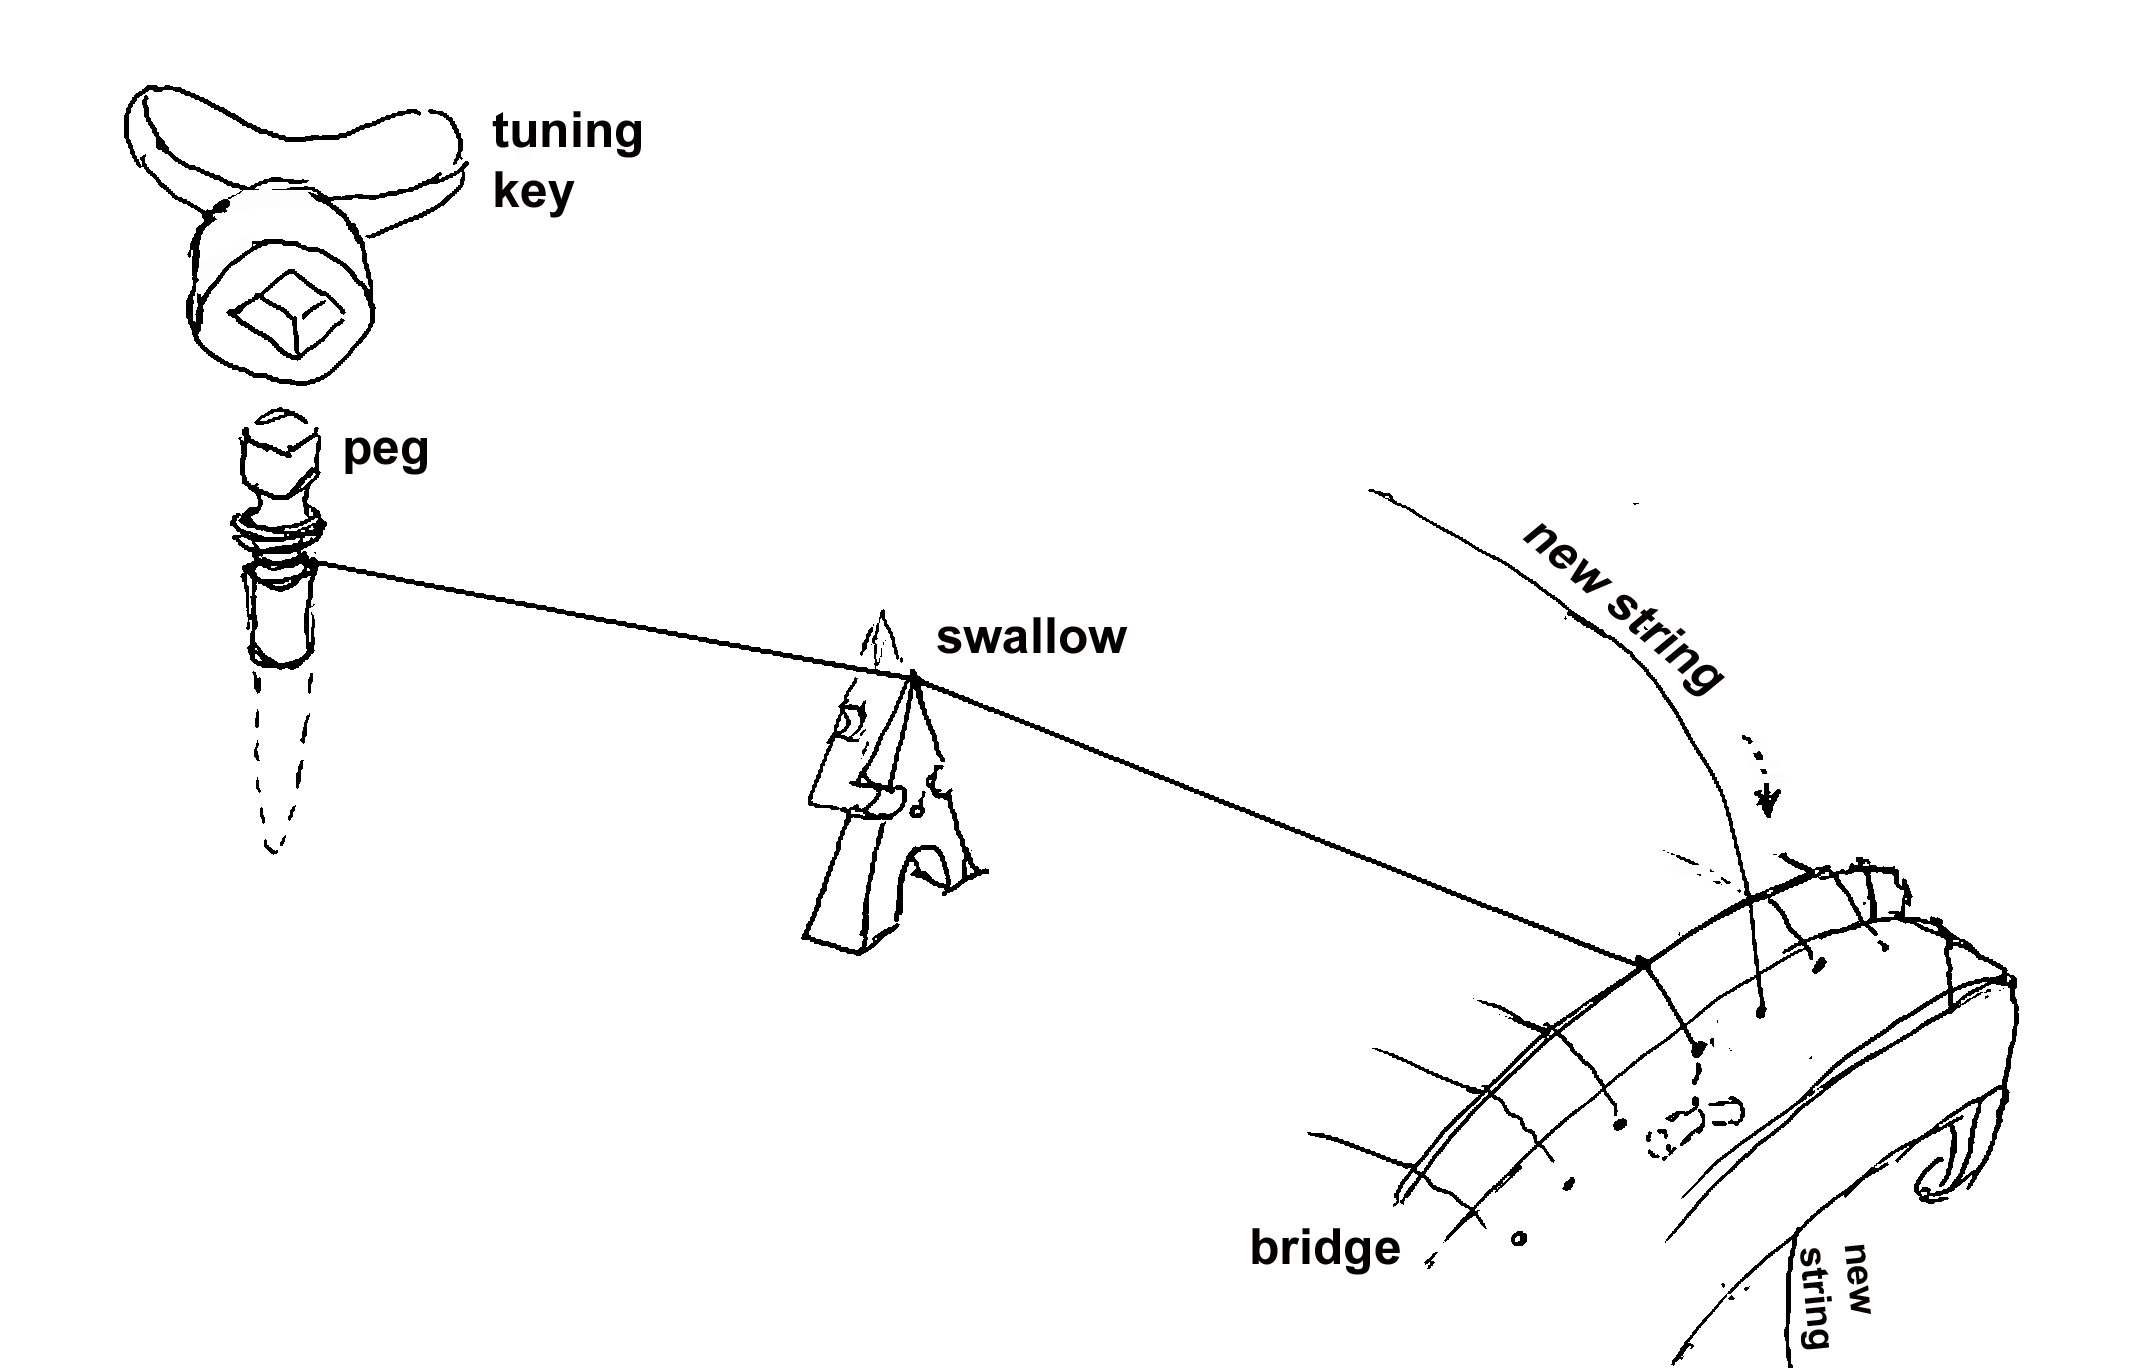
The string stretches from the bridge, resting on the swallow, and is tied to the peg at the other end of the instrument.
- Remove the broken string: remove and discard all parts of the broken string from the peg (you may need to use the tuning key to loosen the peg from the body), and the bridge string eye (use a safety pin or a paper clip to avoid being poked).
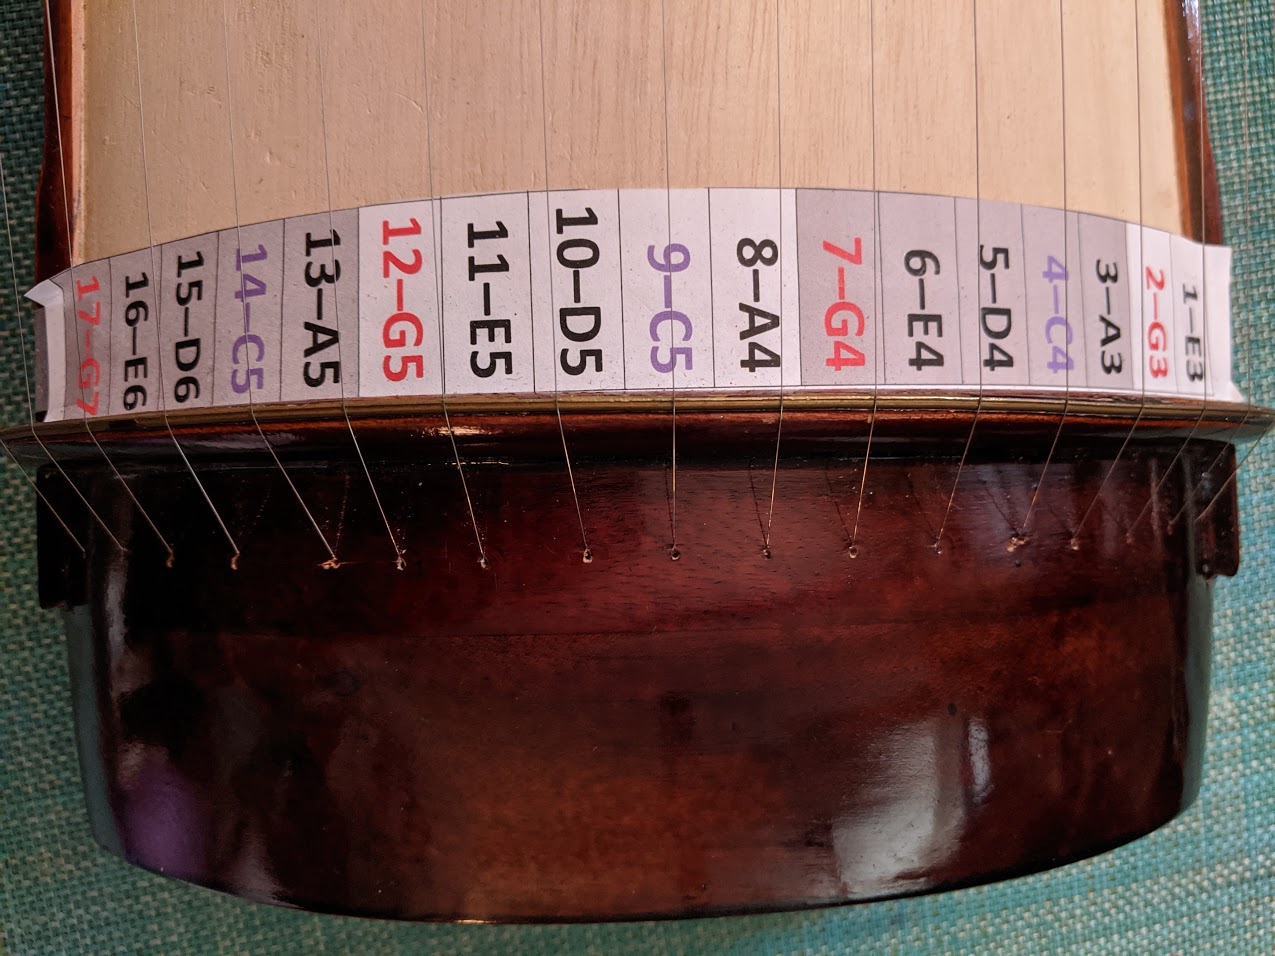
- Get a new string: Use string size 30 for the first three strings (string #1, #2, #3 at the far end), string size 25 for the next 3 strings (strings #4, #5, #6), and size 20 for the rest.

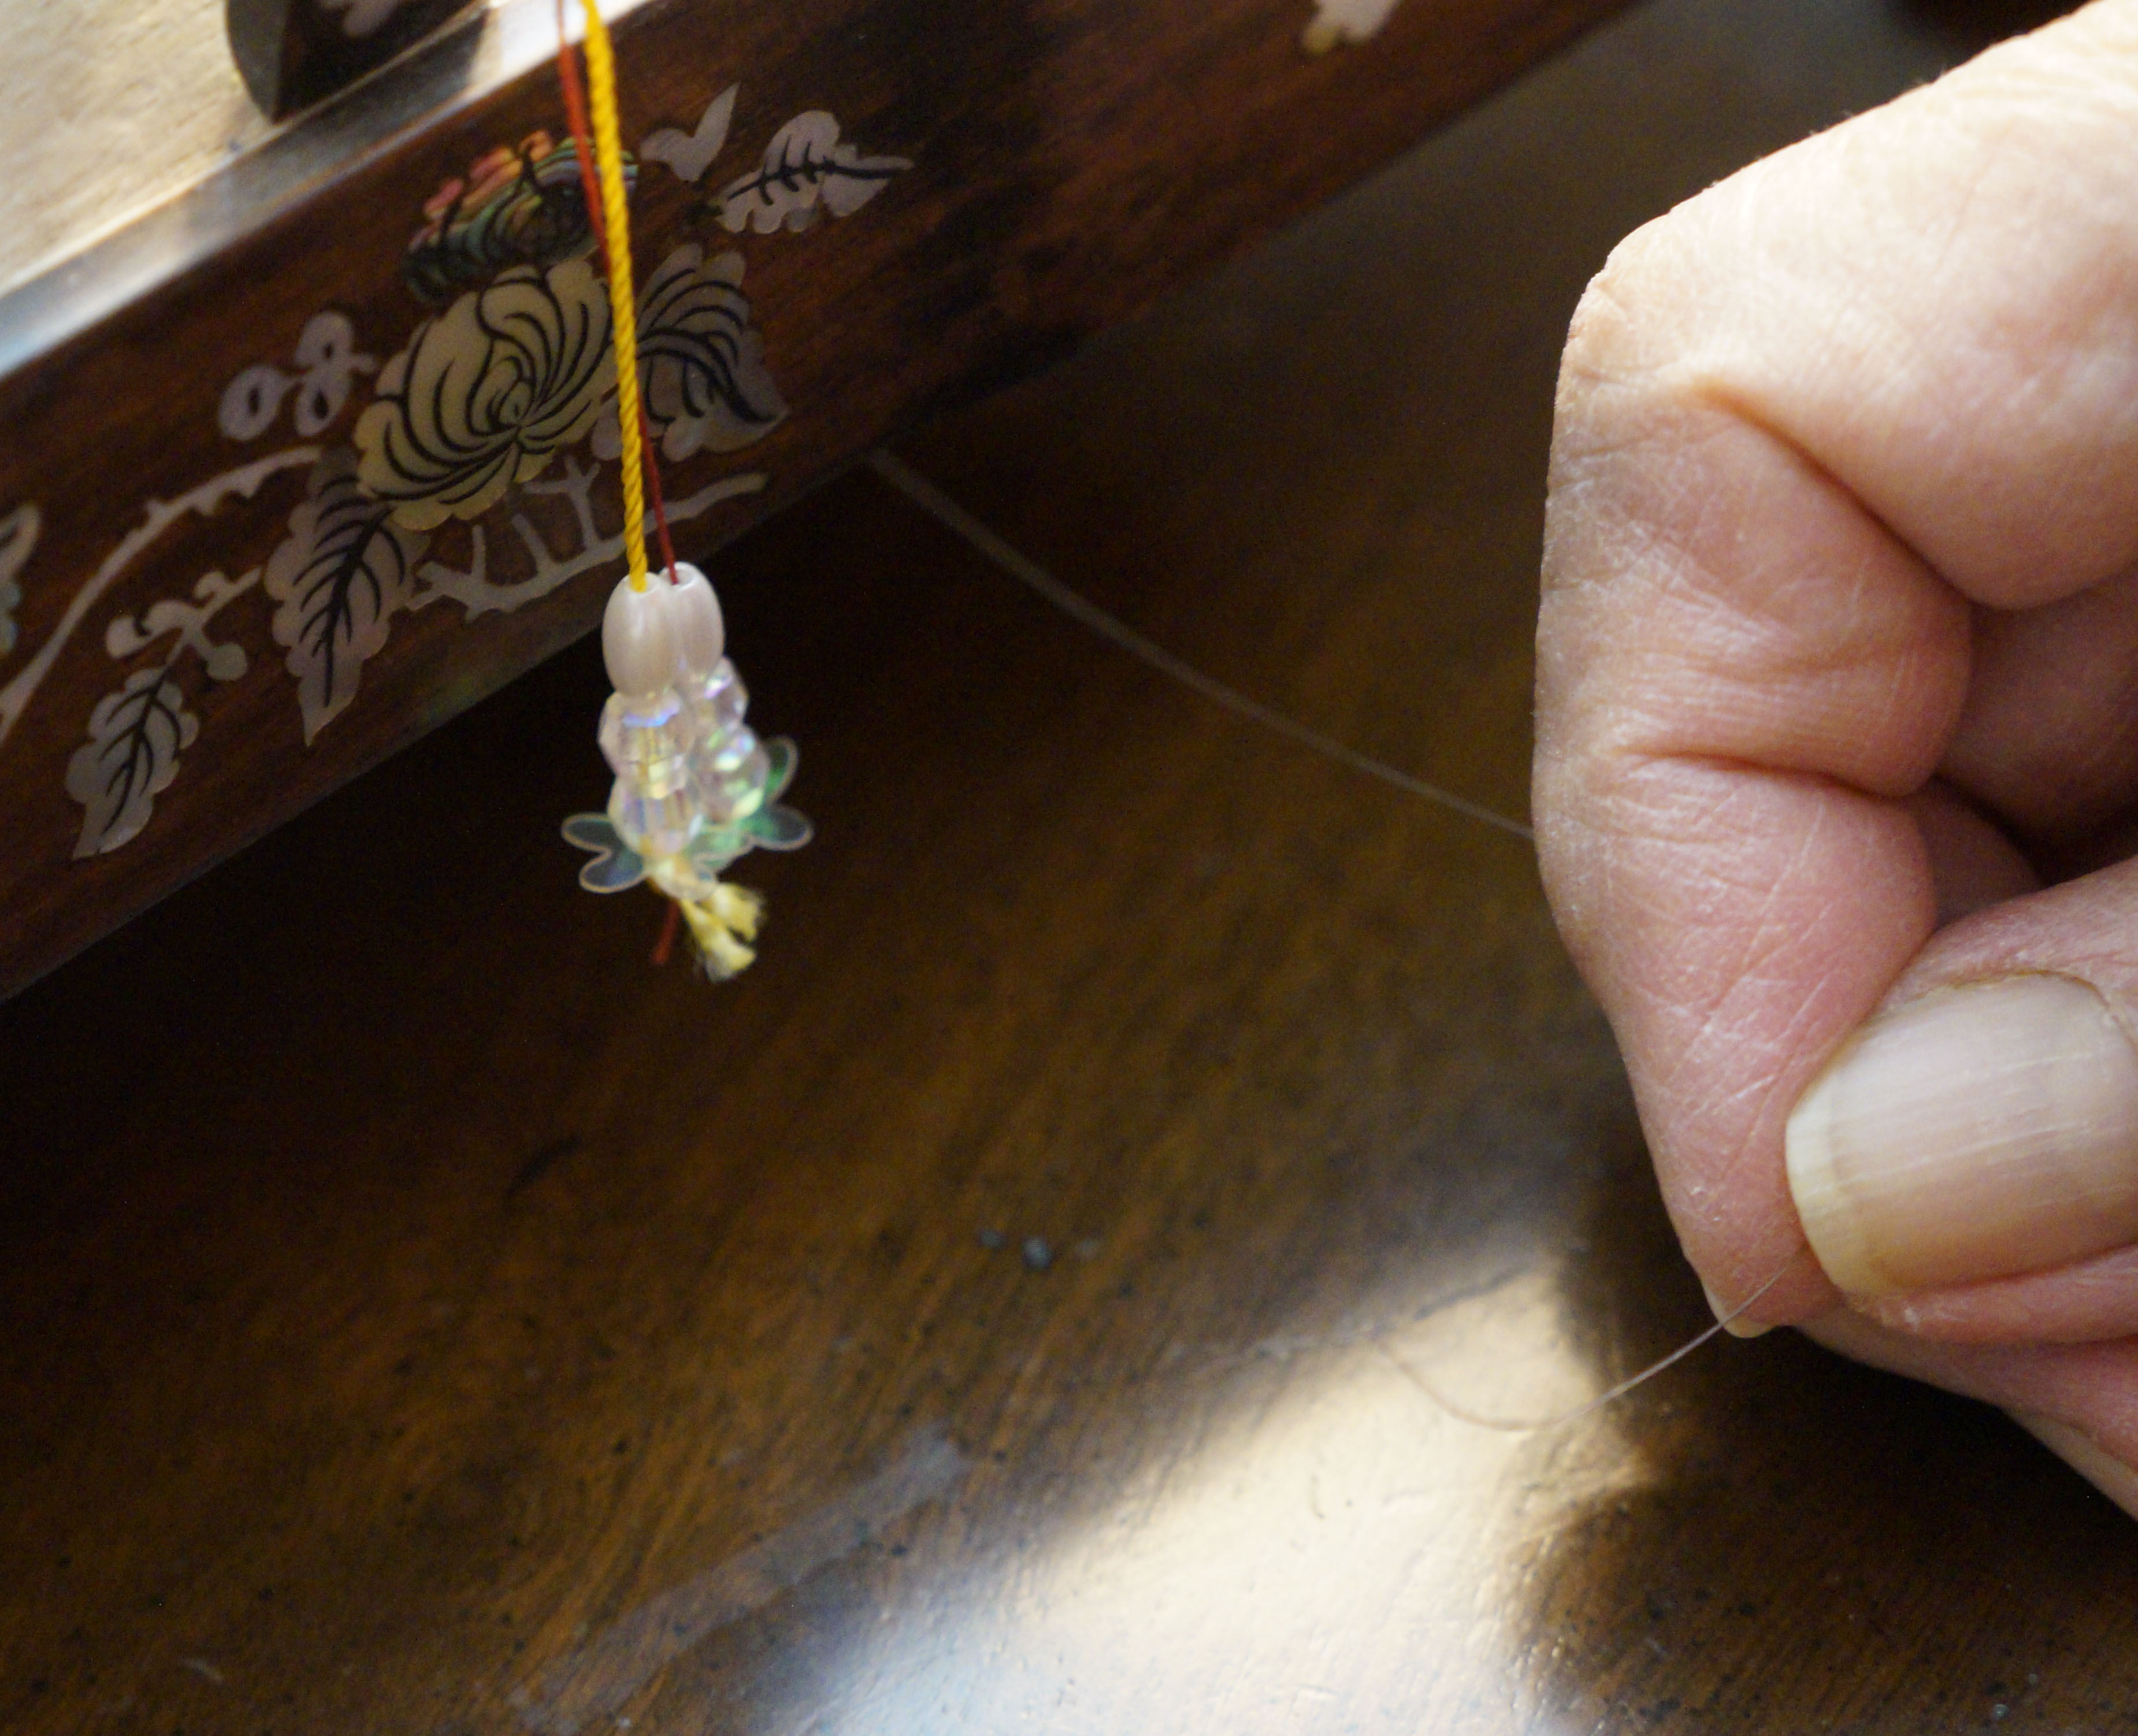
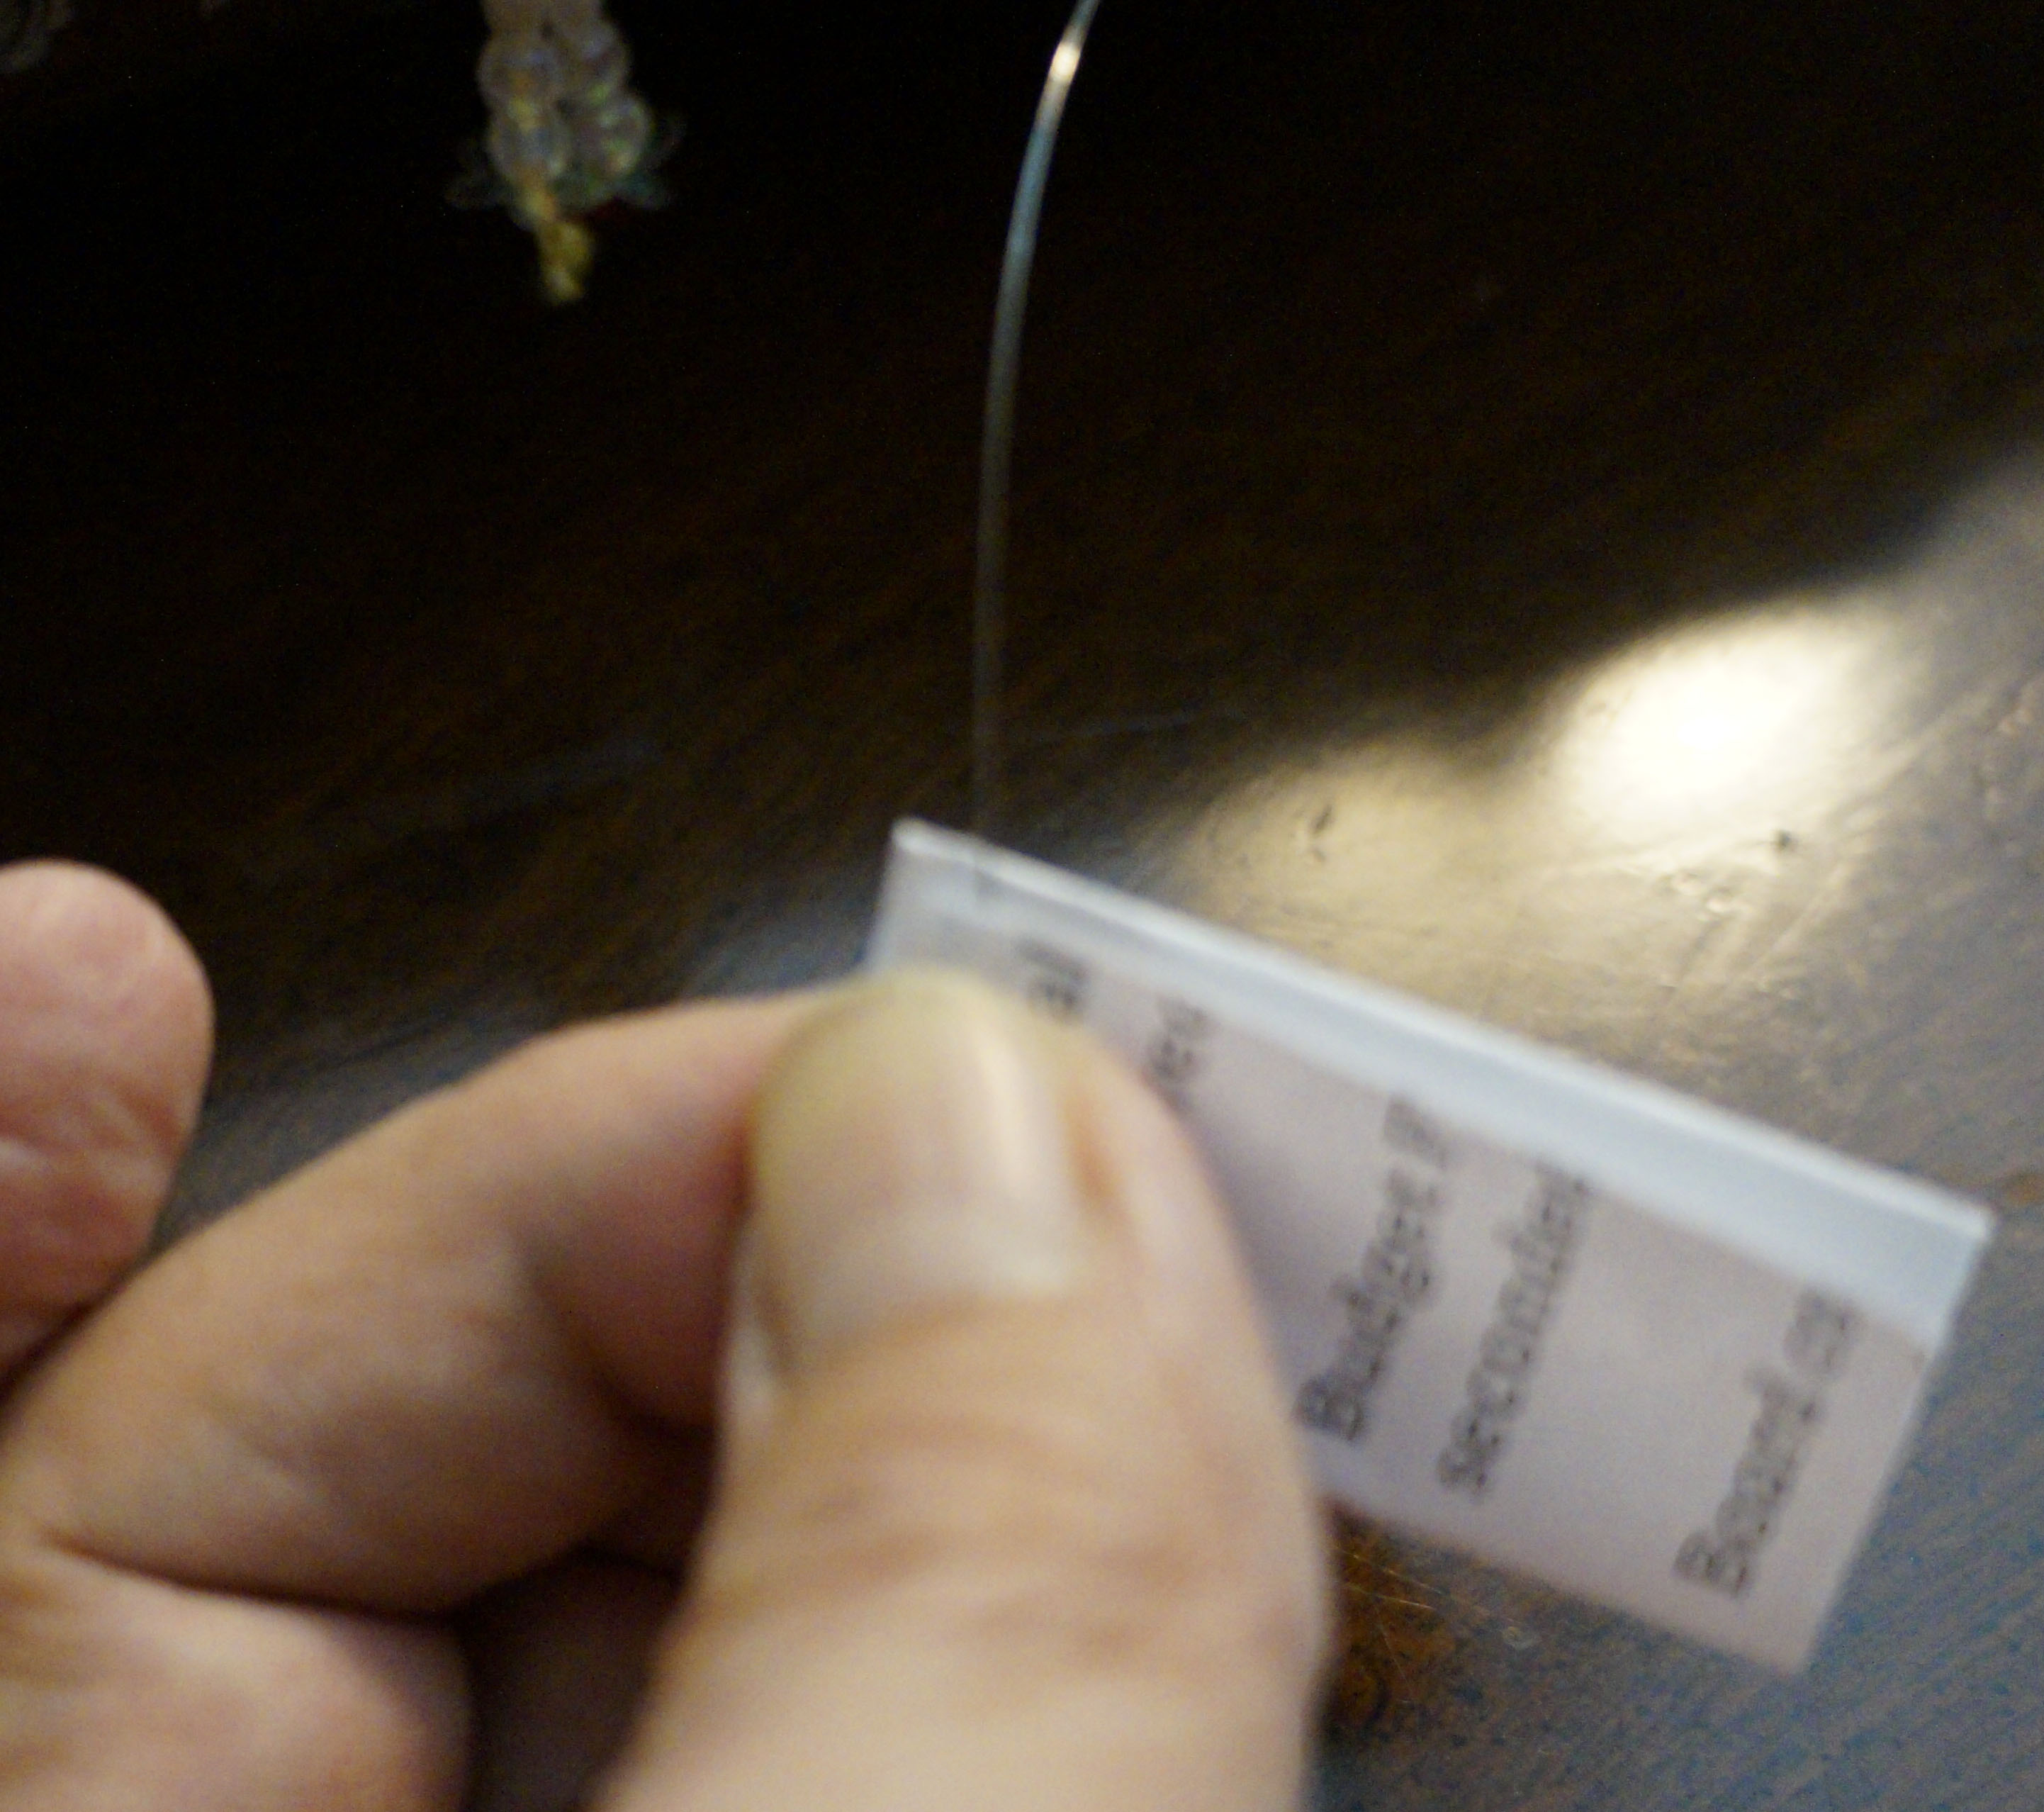
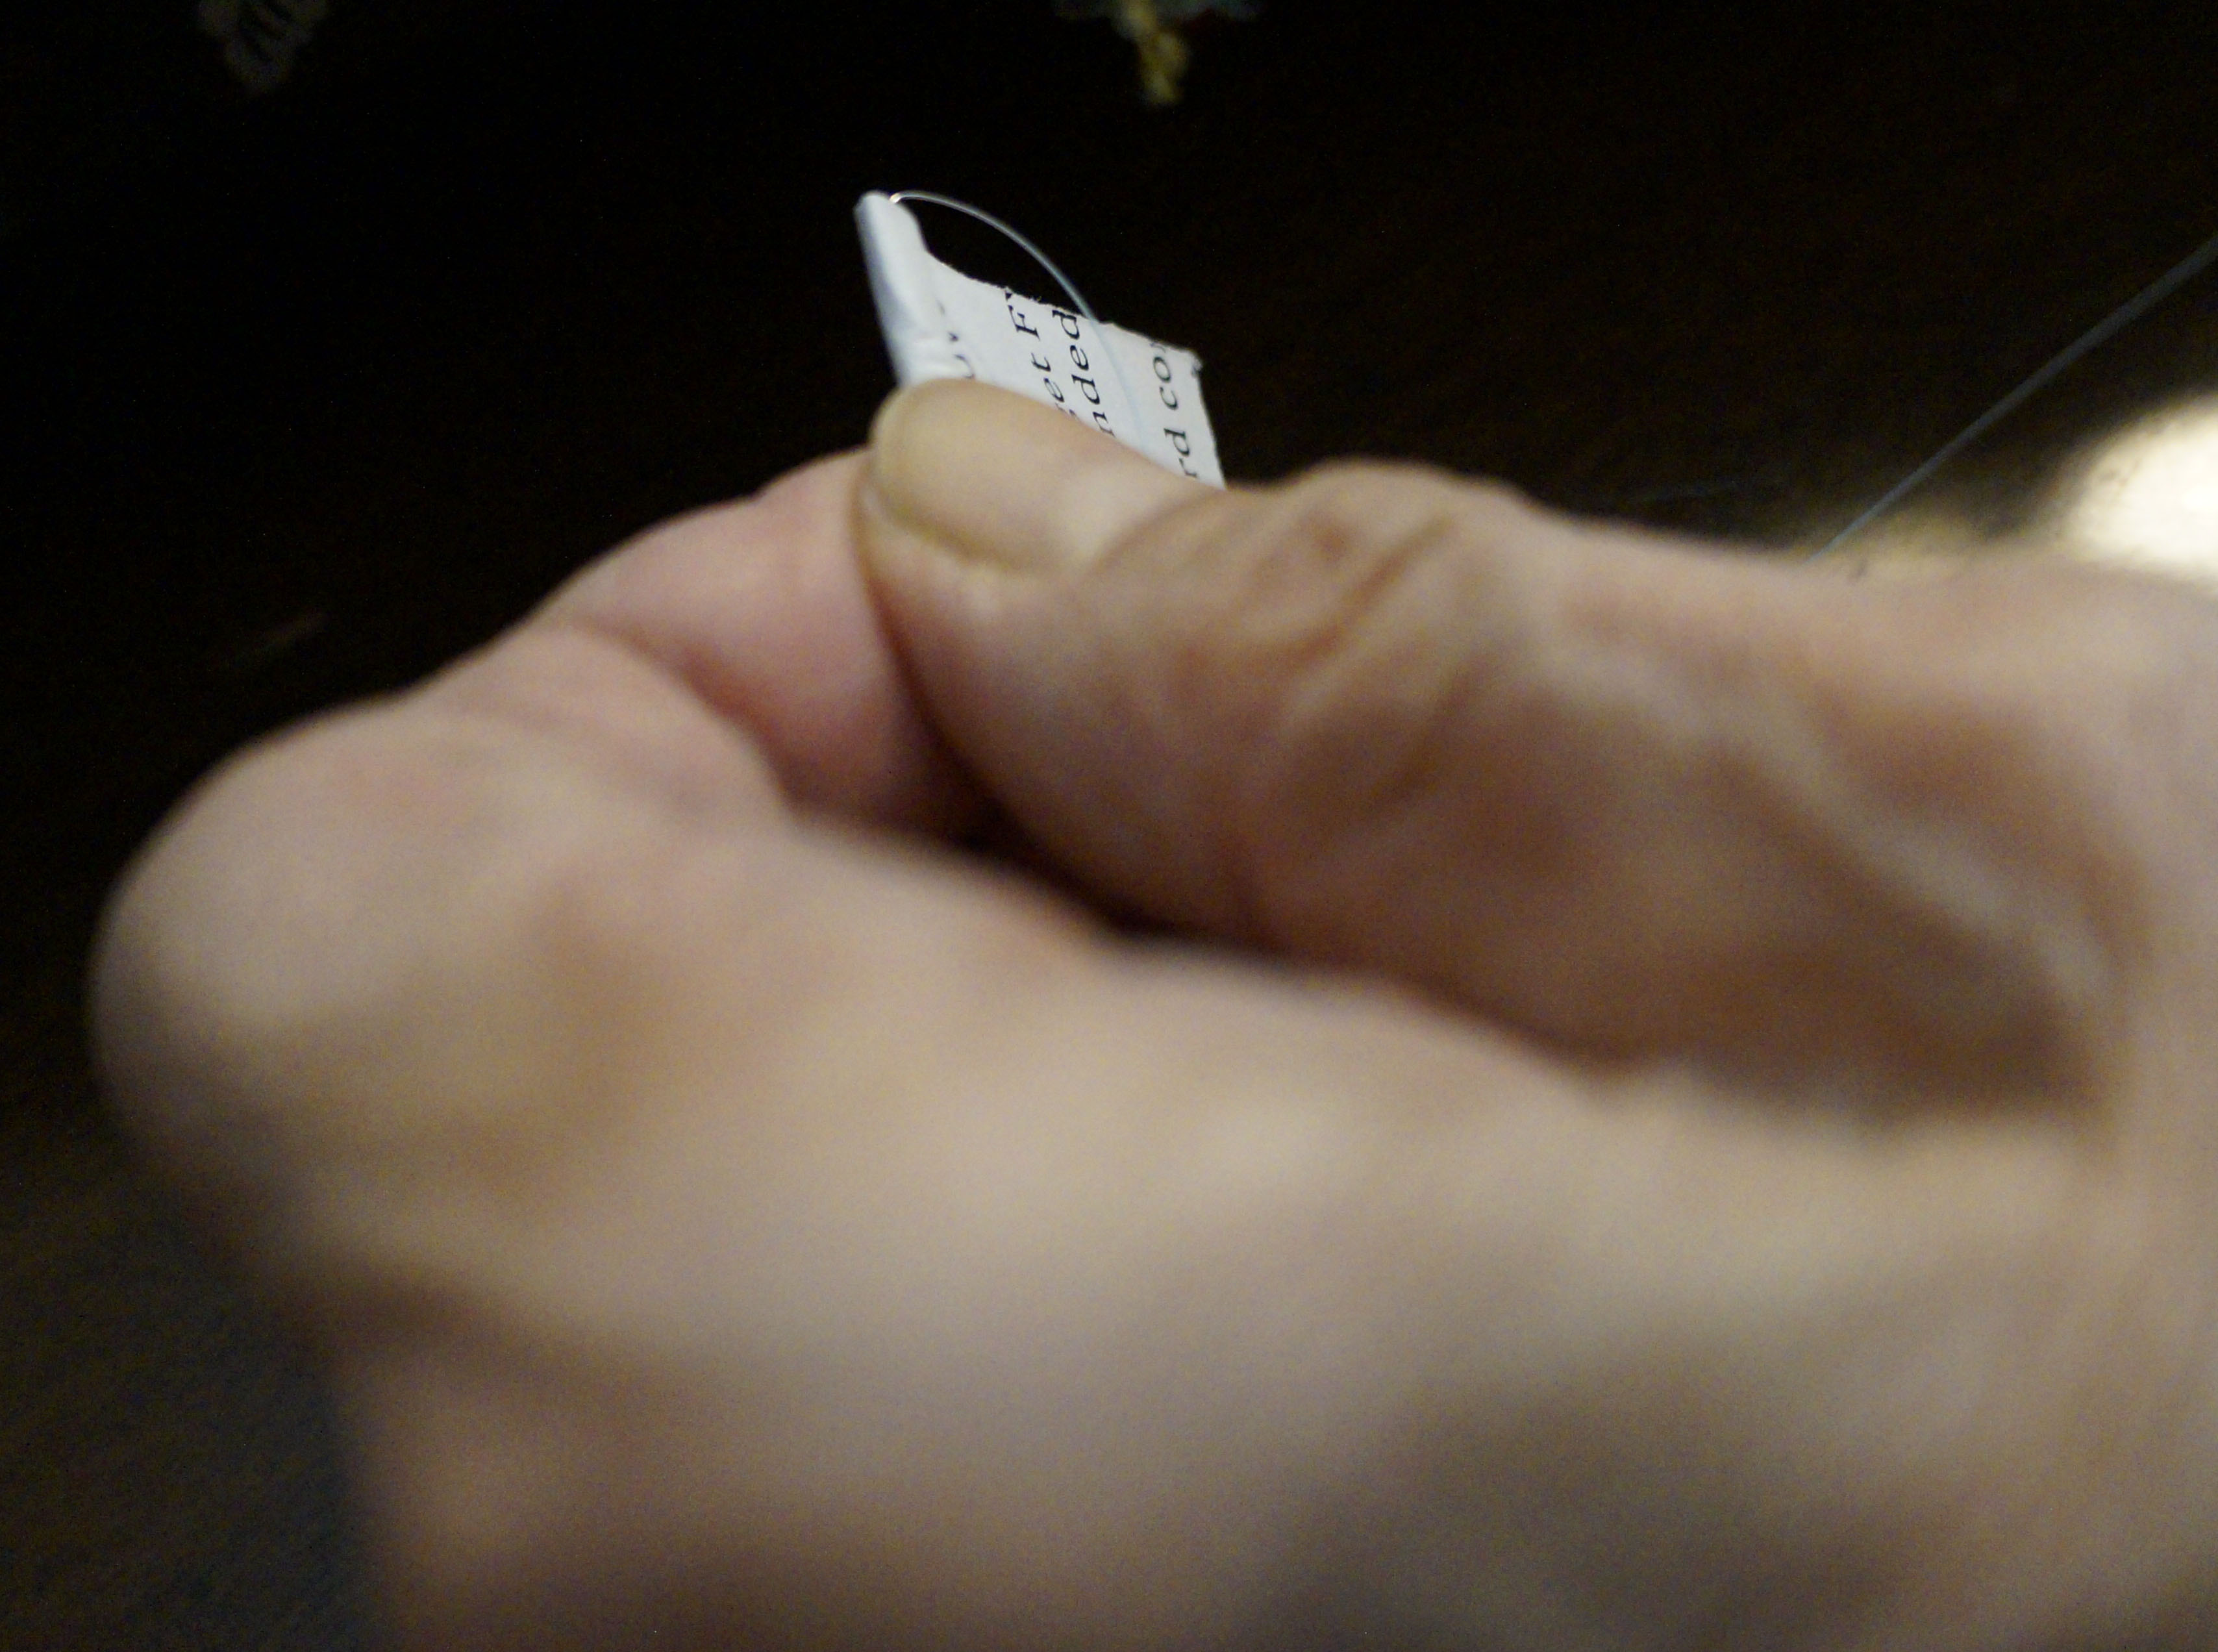
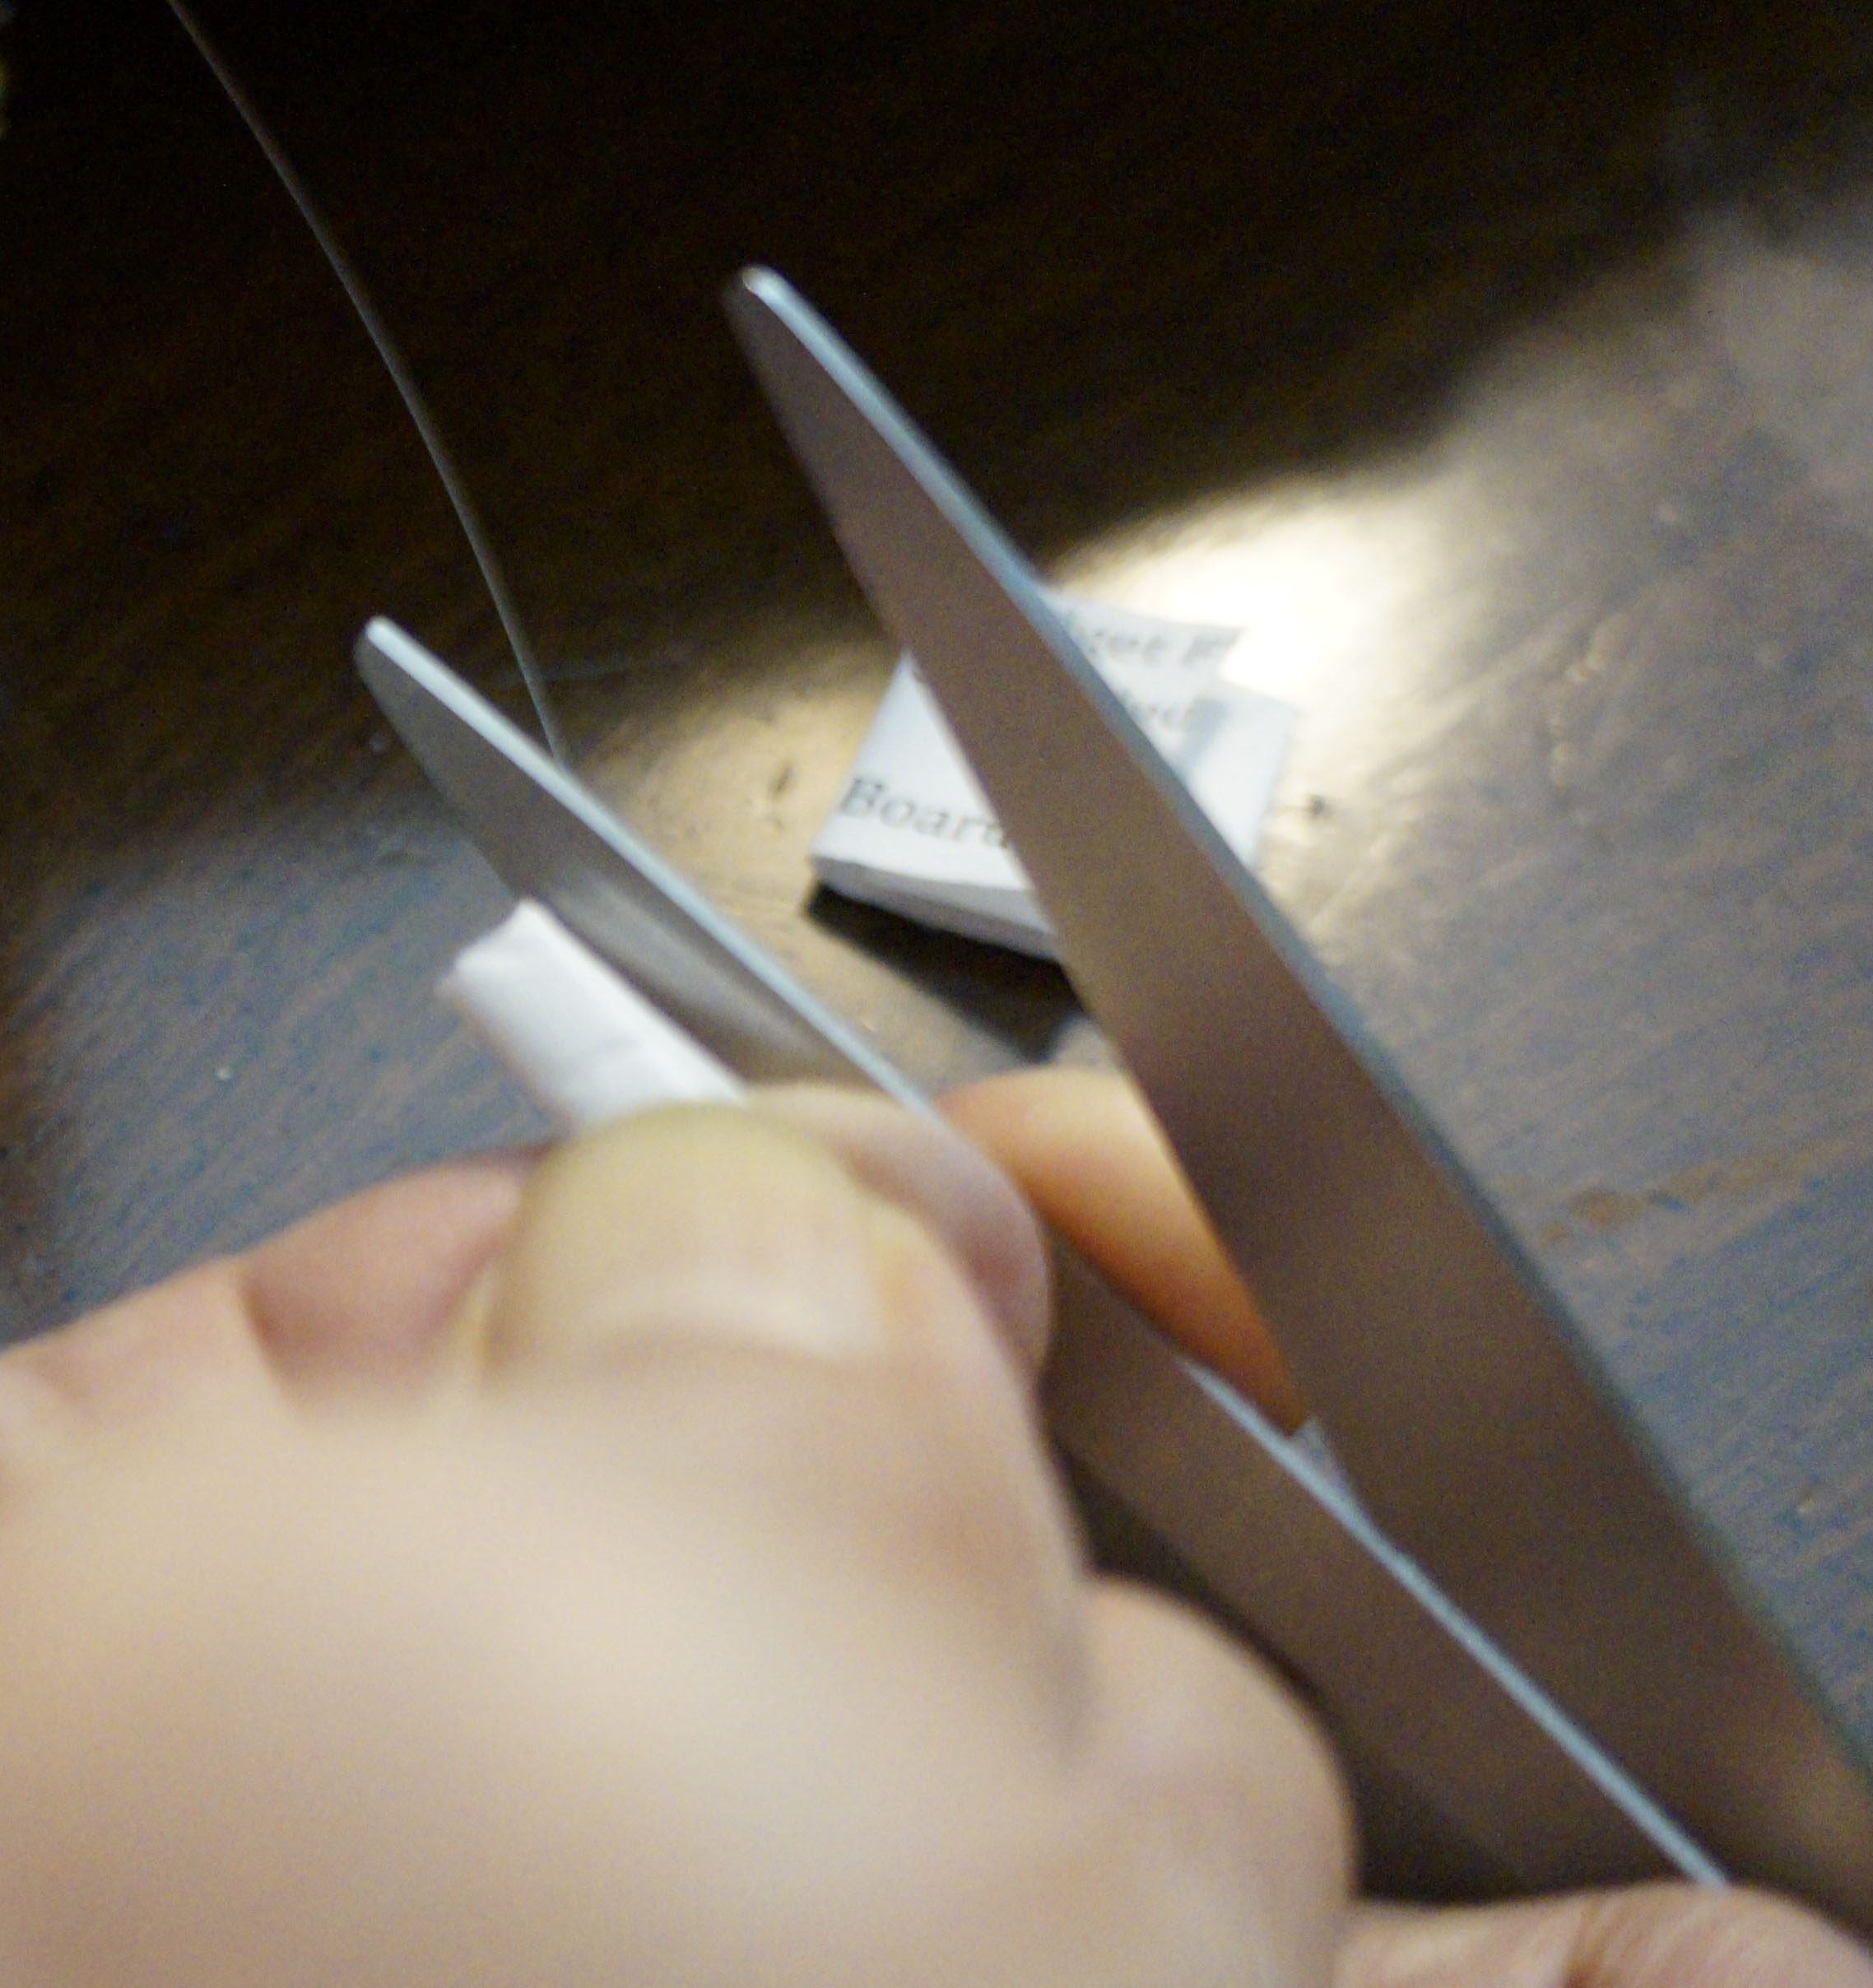
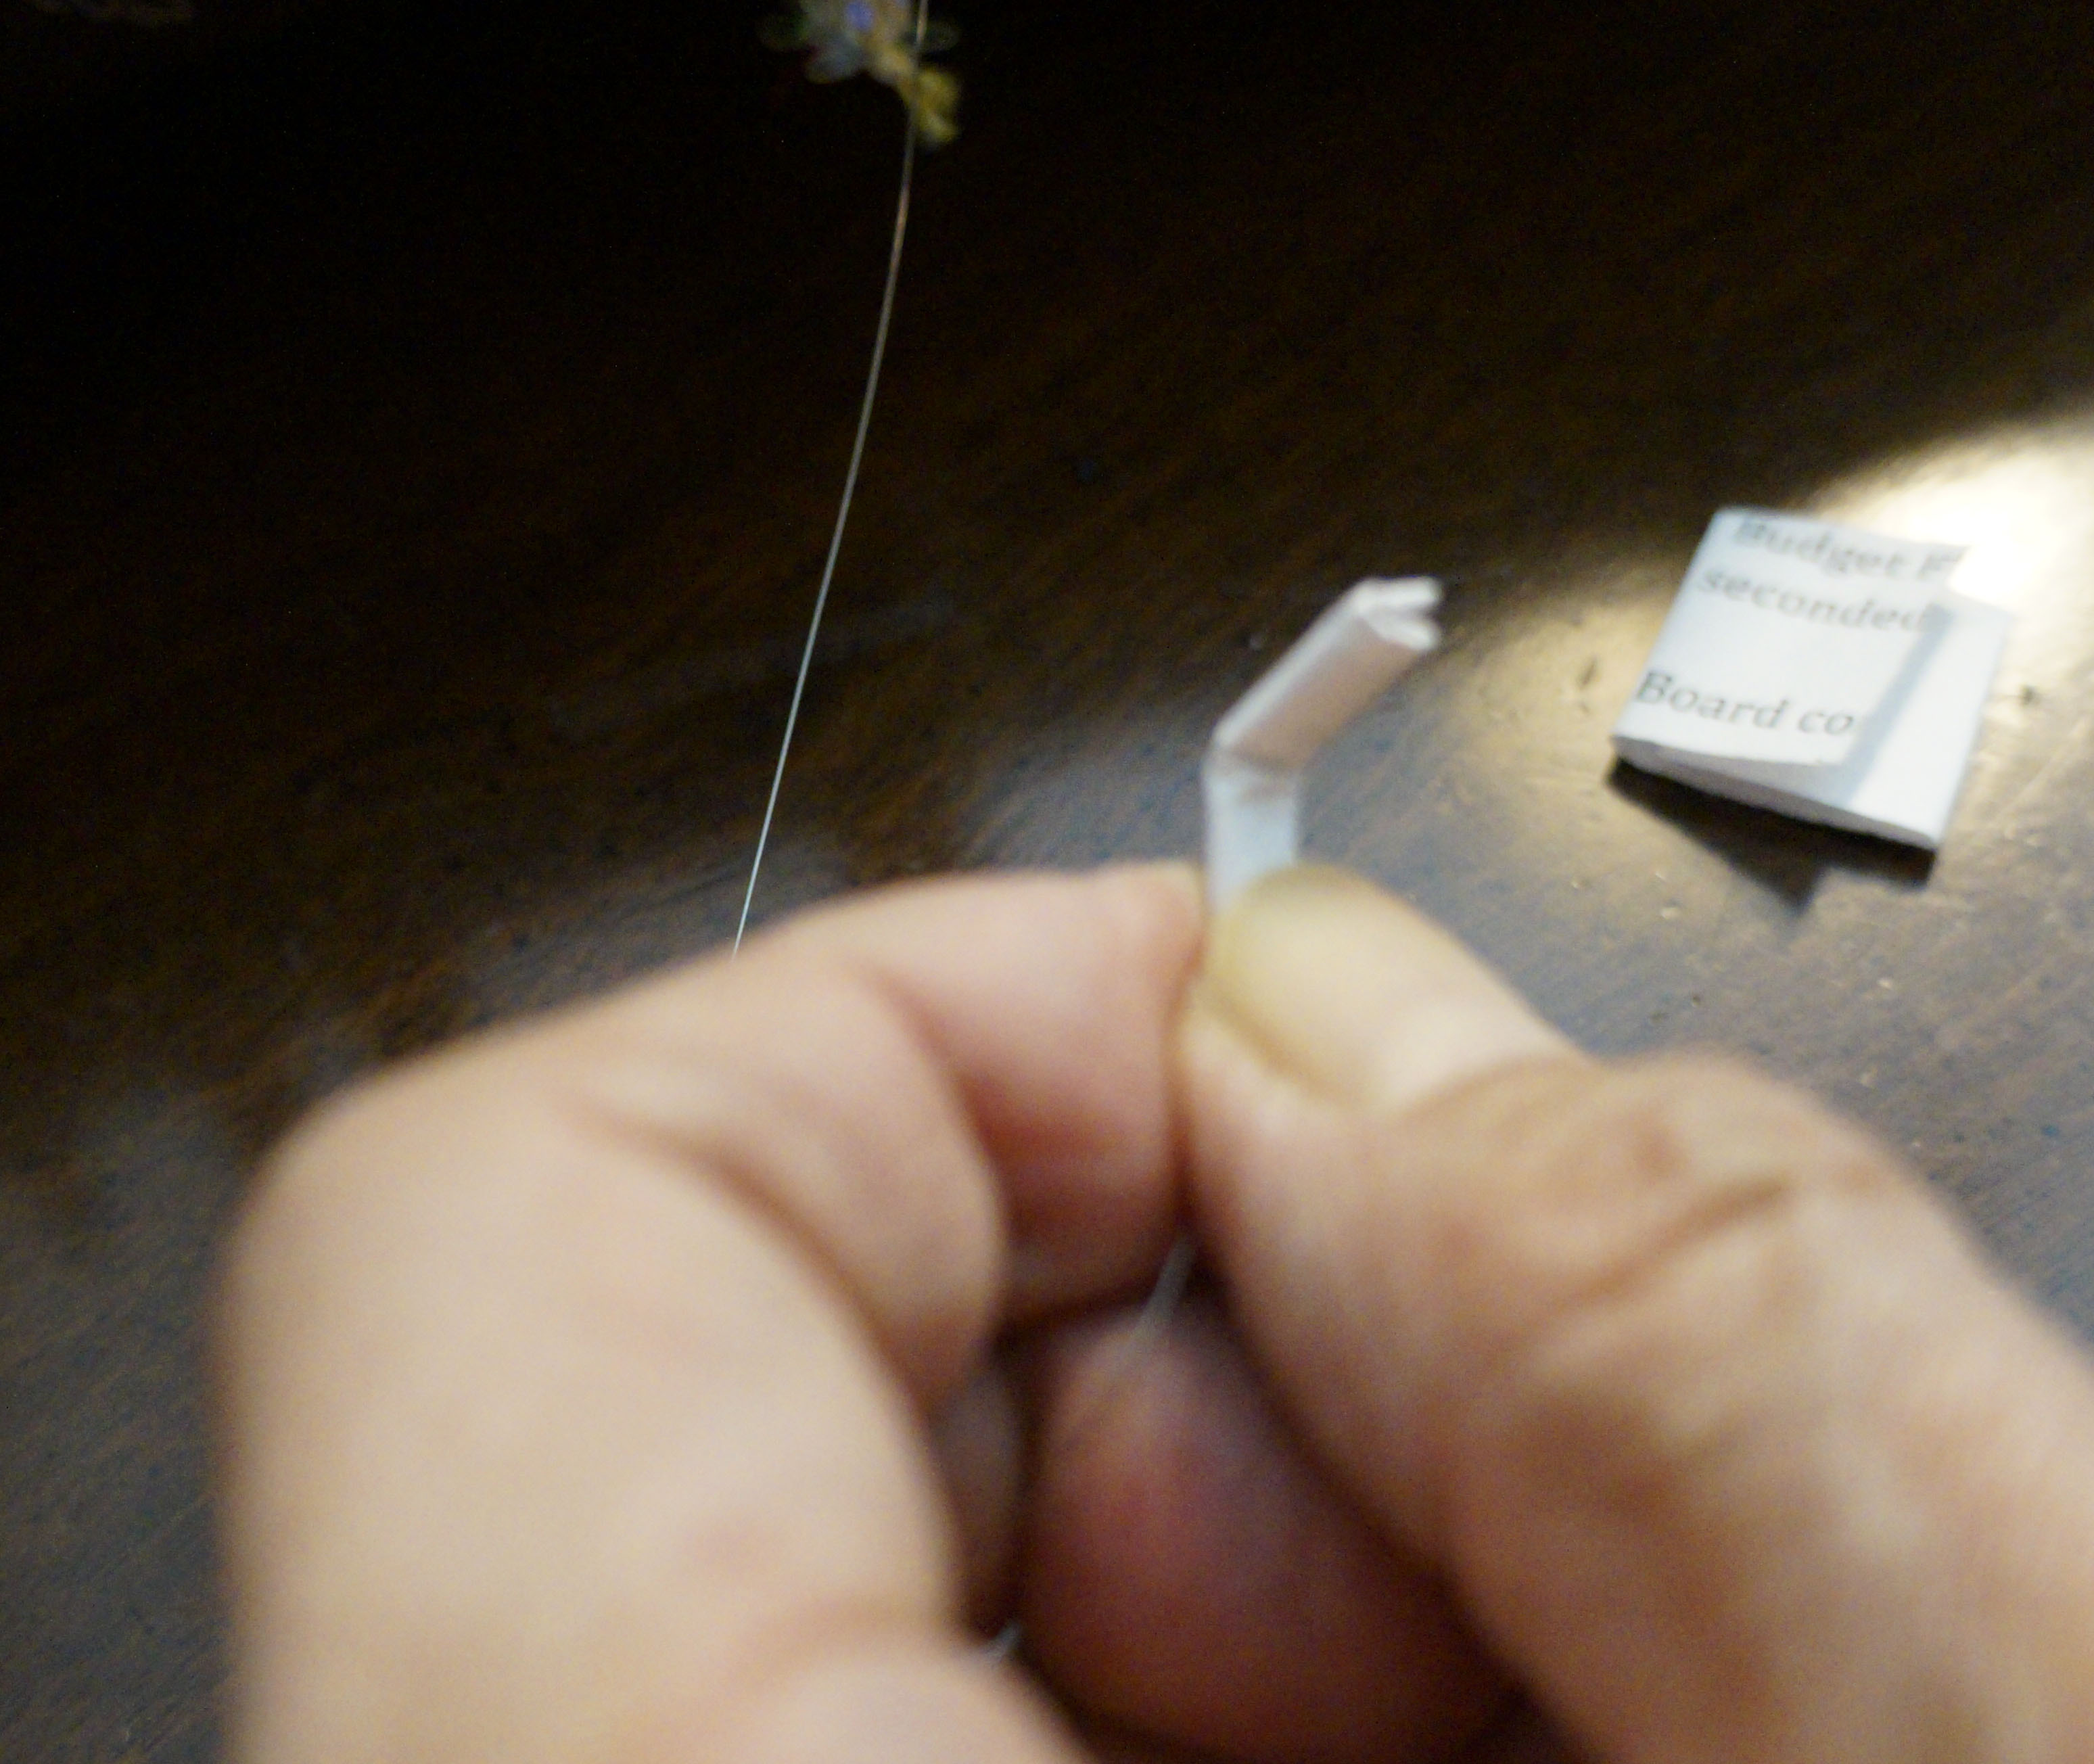
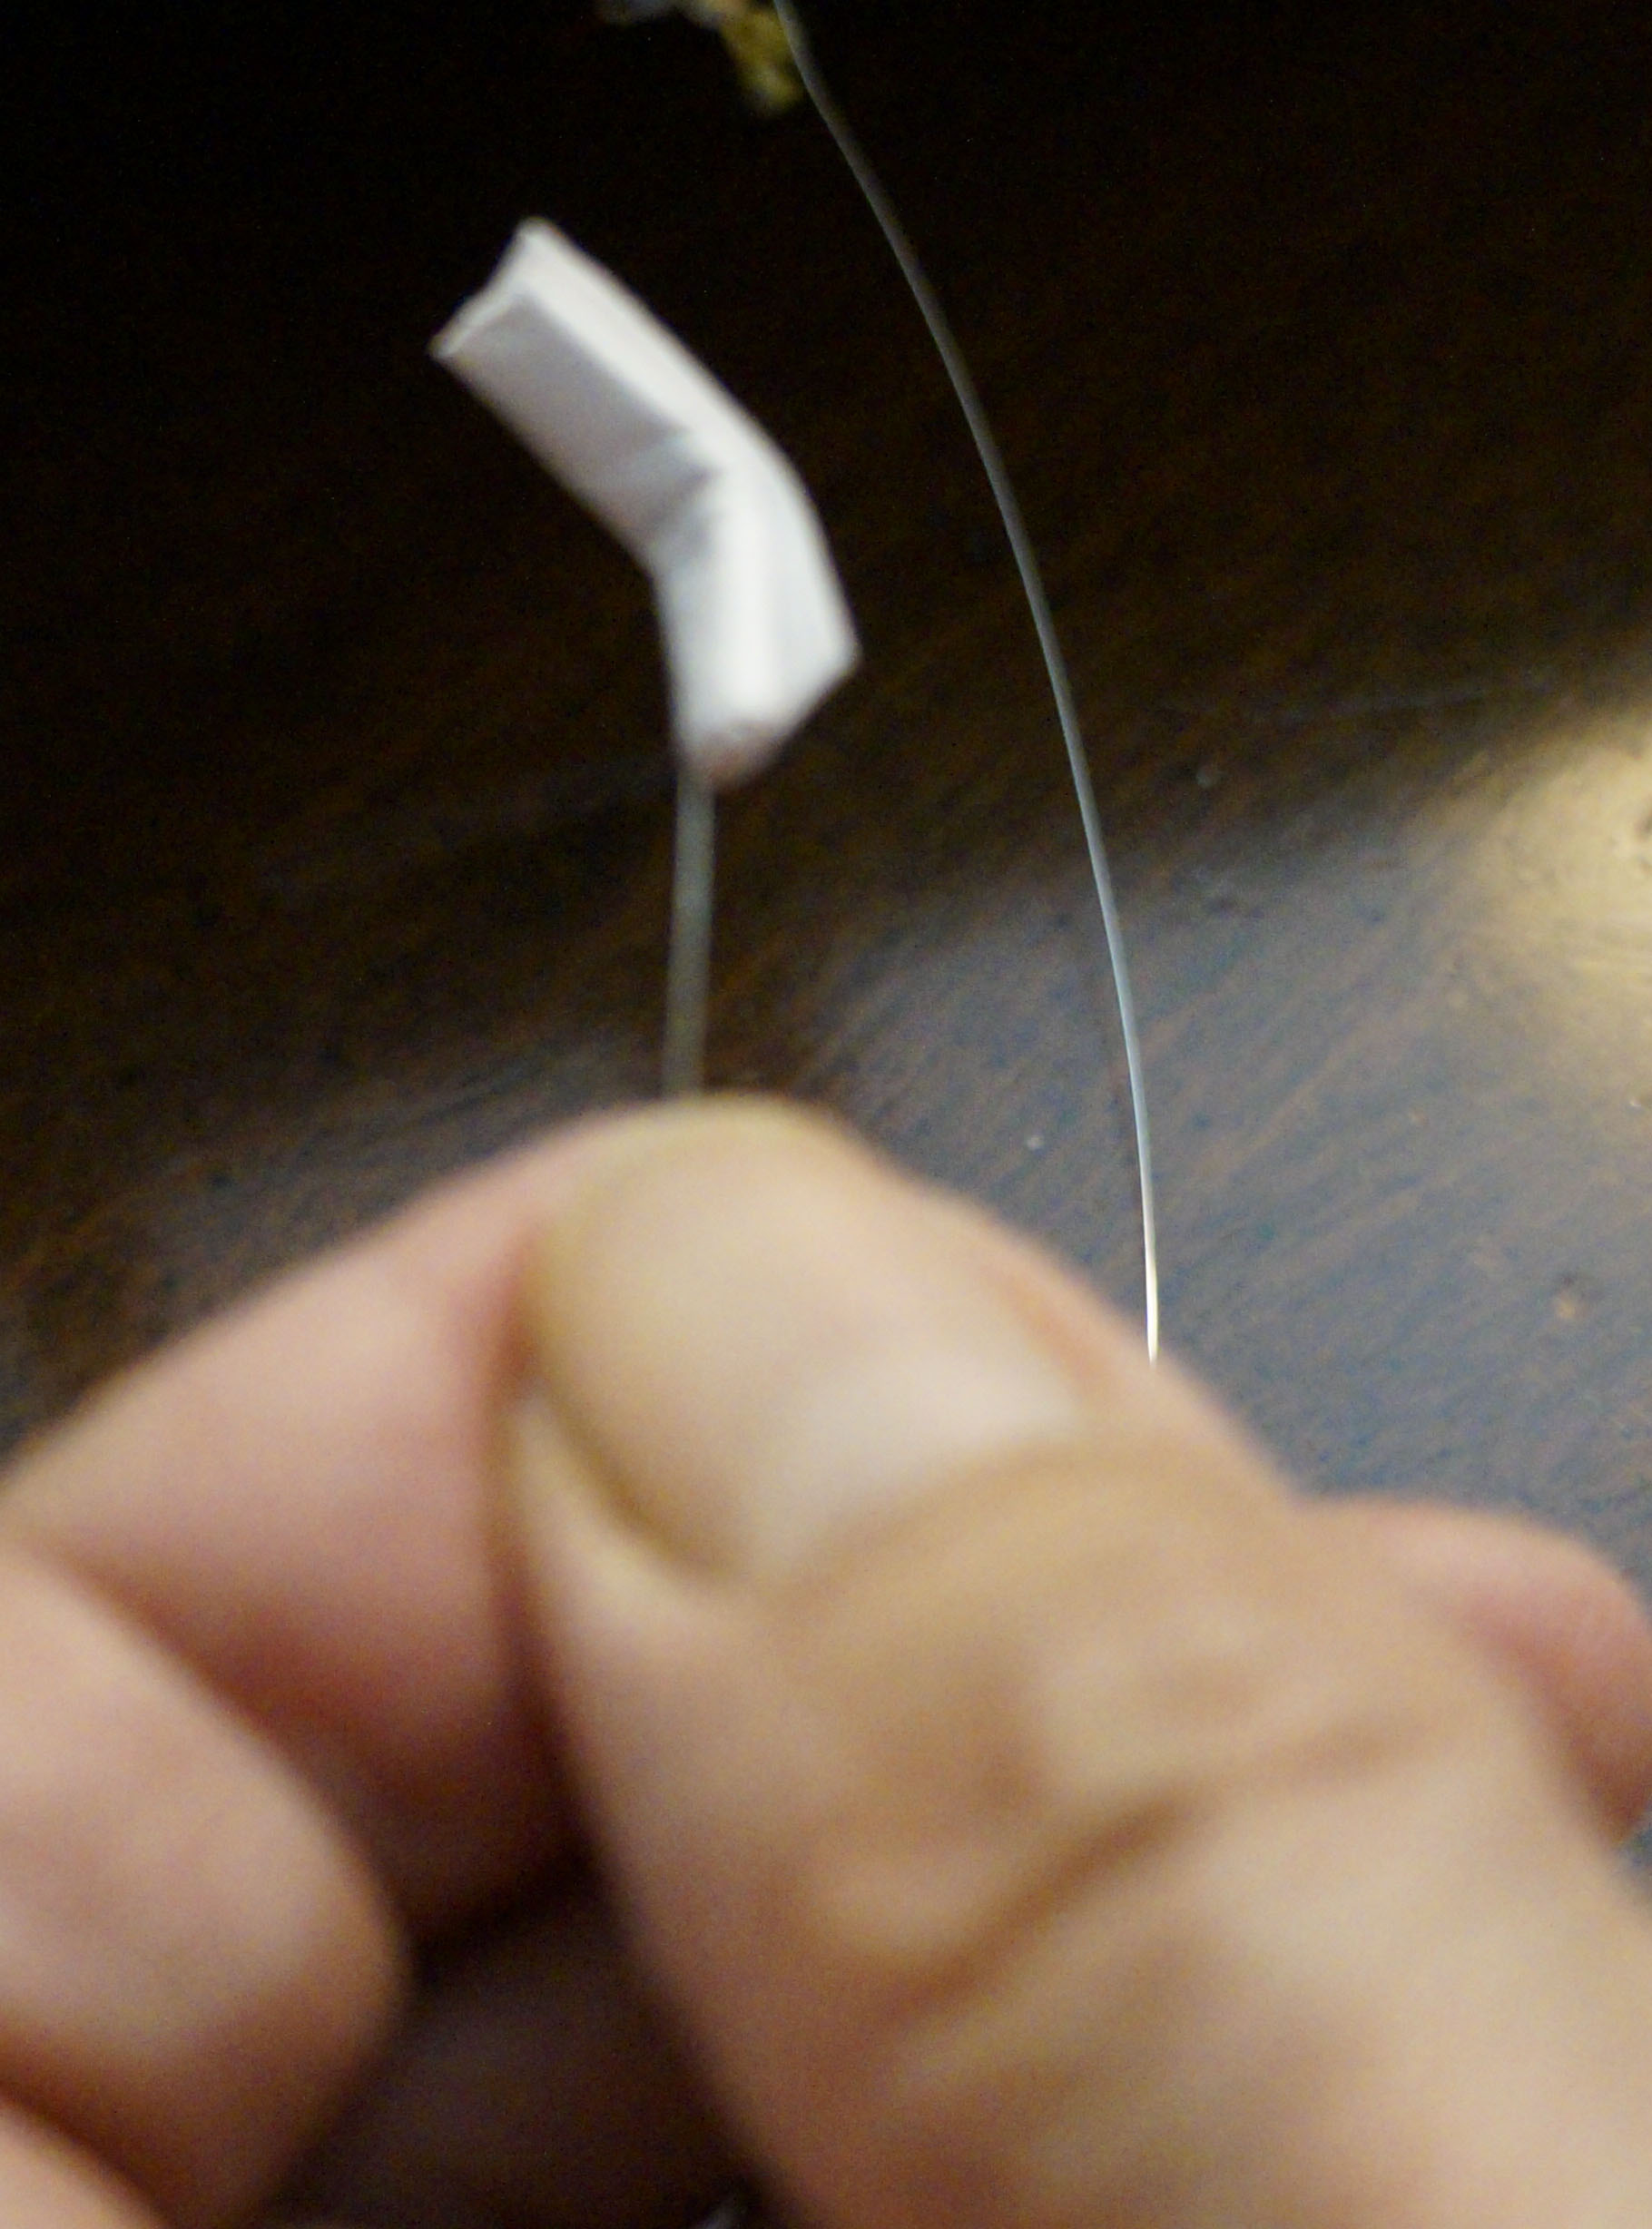
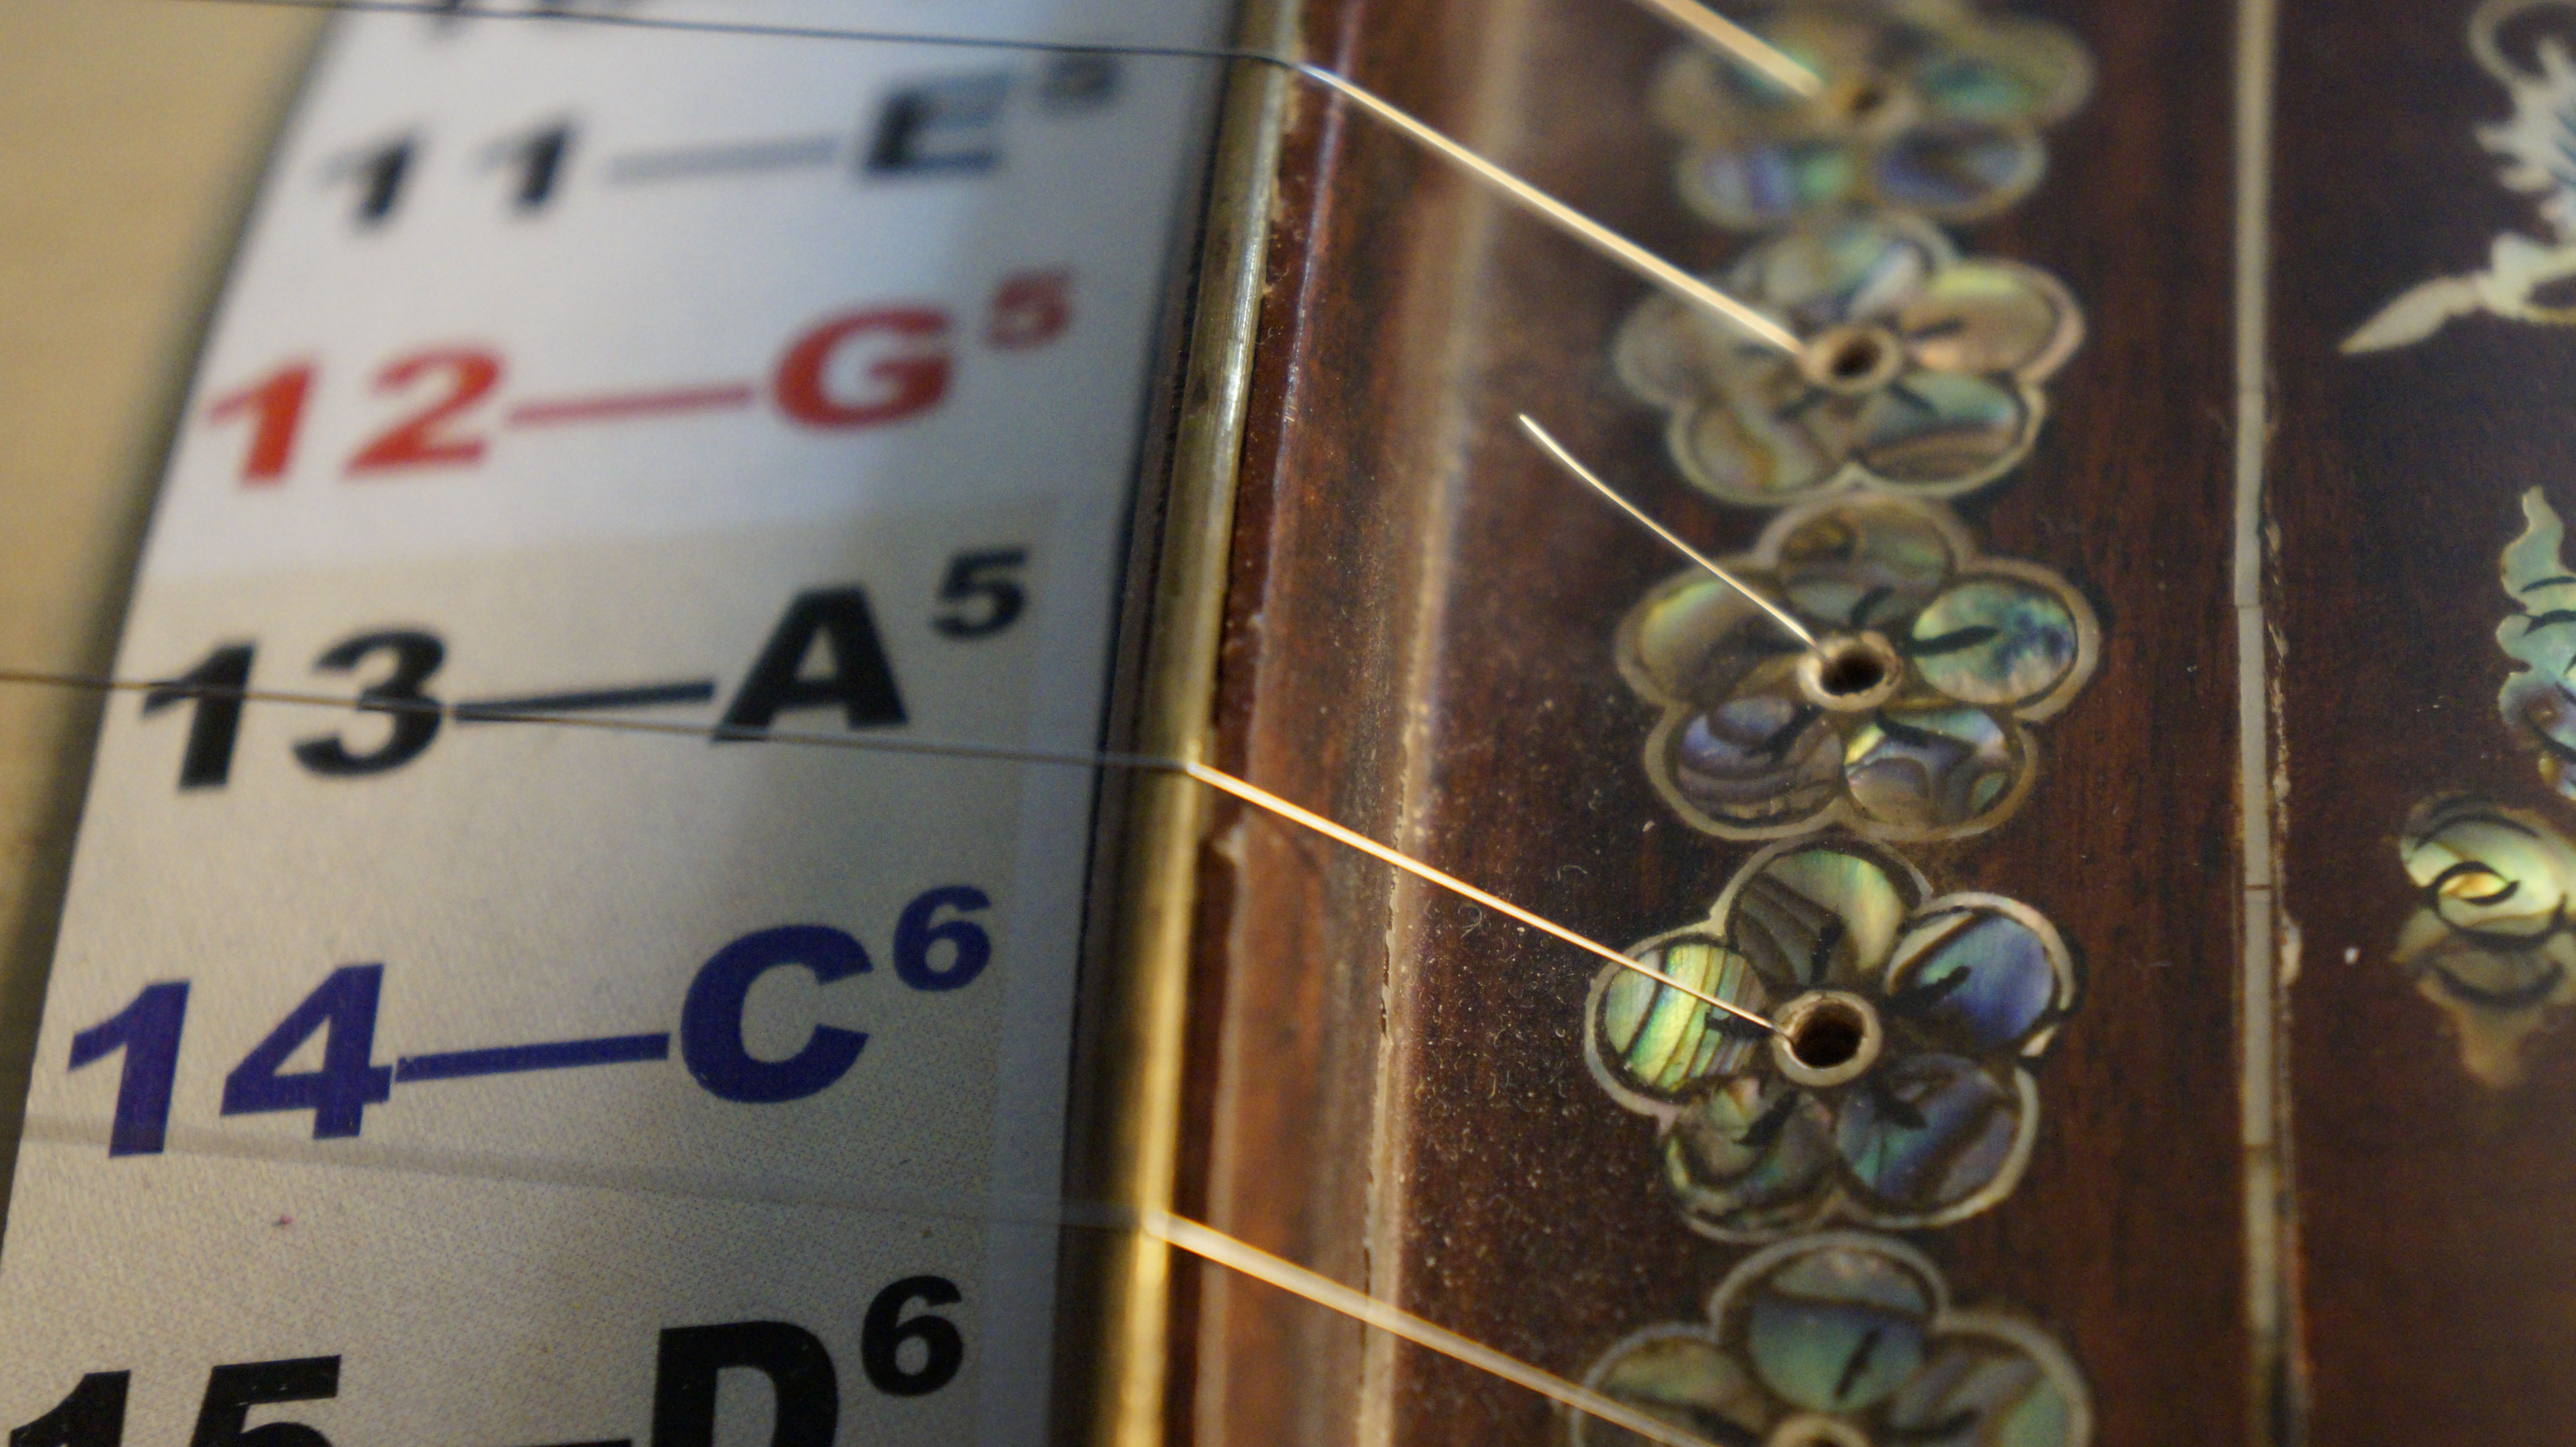
- Thread one end of the string into the bridge eye, and pull the other end out from under the body (do not pull the entire string through the bridge eye).
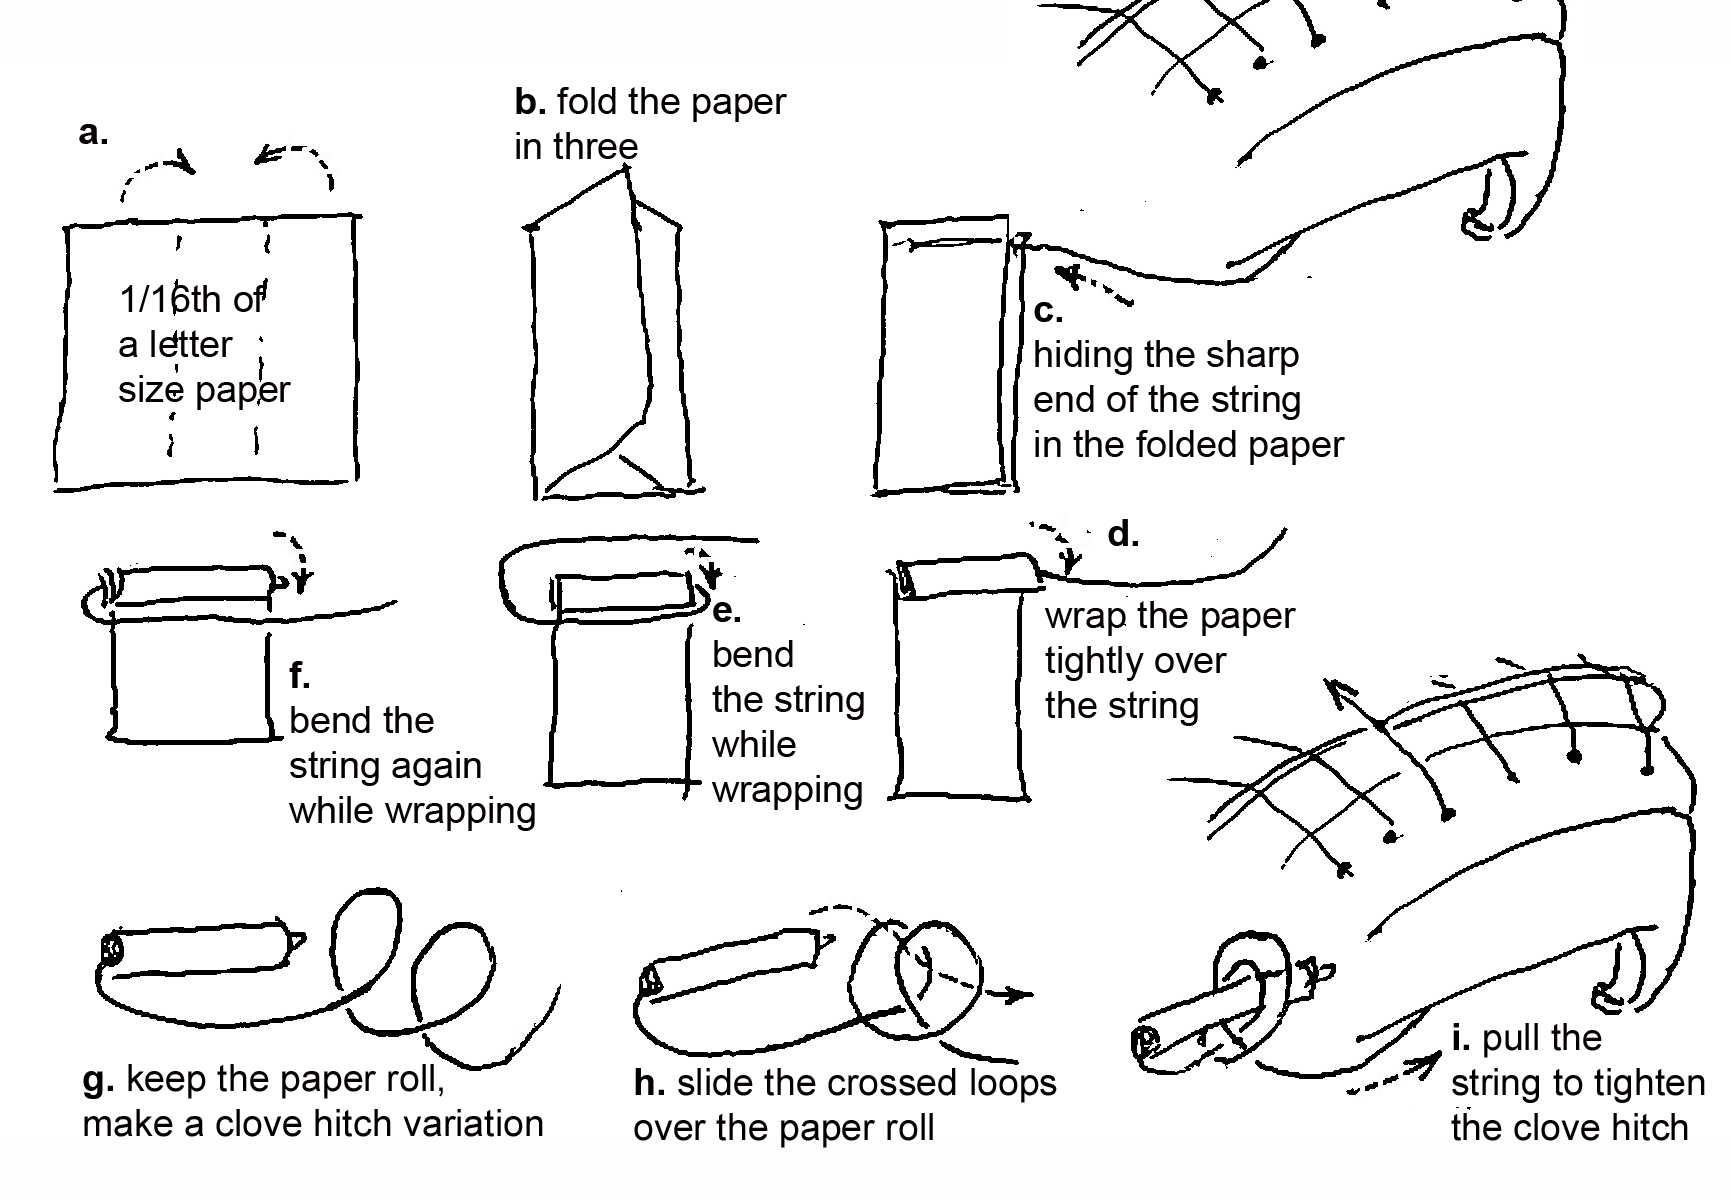
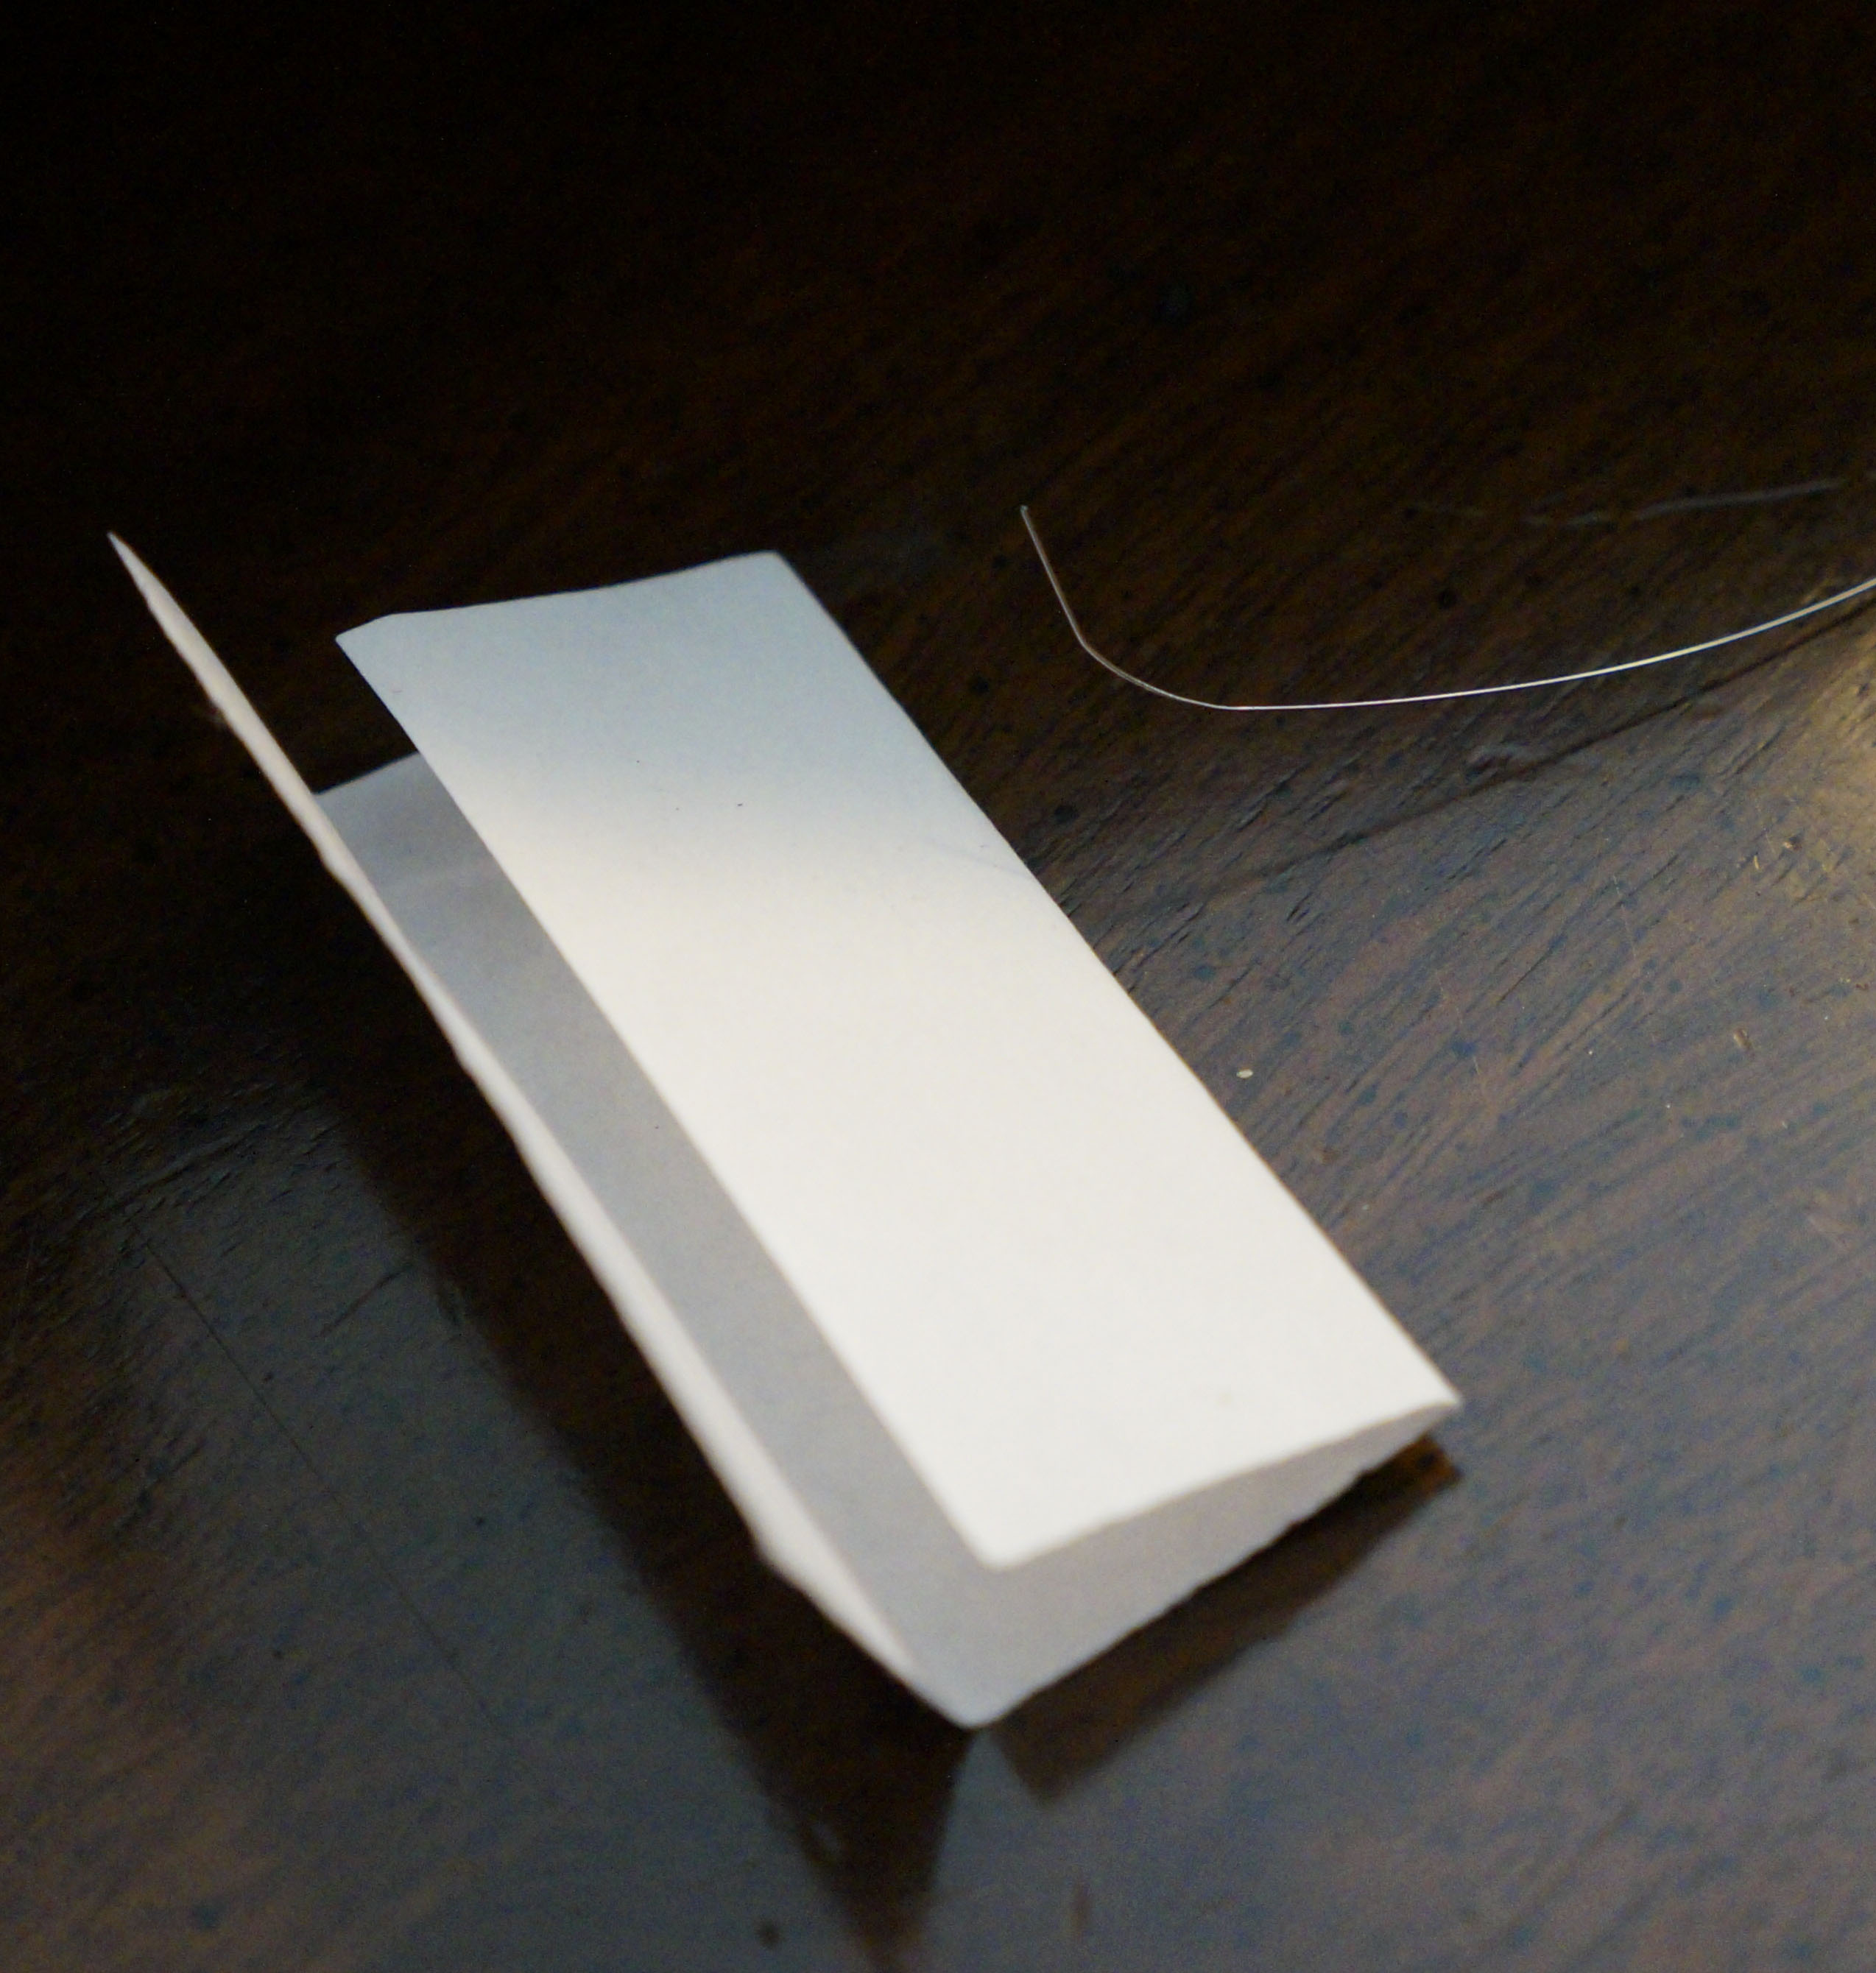
- Take a piece of paper (about one sixteenth of a letter size (8½x11) paper), fold it in three, see a. and b below on top of page 2.
- Hide the string end in the top part of the 3-folded paper, see c.
- Roll the folded paper from the top tightly over the hidden string end, see d.,—do this twice.
- Bend the string lengthwise again, and continue to roll the paper, see f.
- Tear and discard the rest of the paper, if needed.
- Bend the string lengthwise and continue to roll, so that the bended part of the string is held tightly inside the paper, see e.
- Make a smart clove hitch knot: make two loops (see g.), put the second loop on top of the first loop, slide the paper roll in the crossed loop (see h.), and pull the string to tighten the loops around the paper roll, see i. The clove hitch knot is made.
- Grab the other end of the string on top of the instrument and pull the string up. Now you have one end of the string secured.

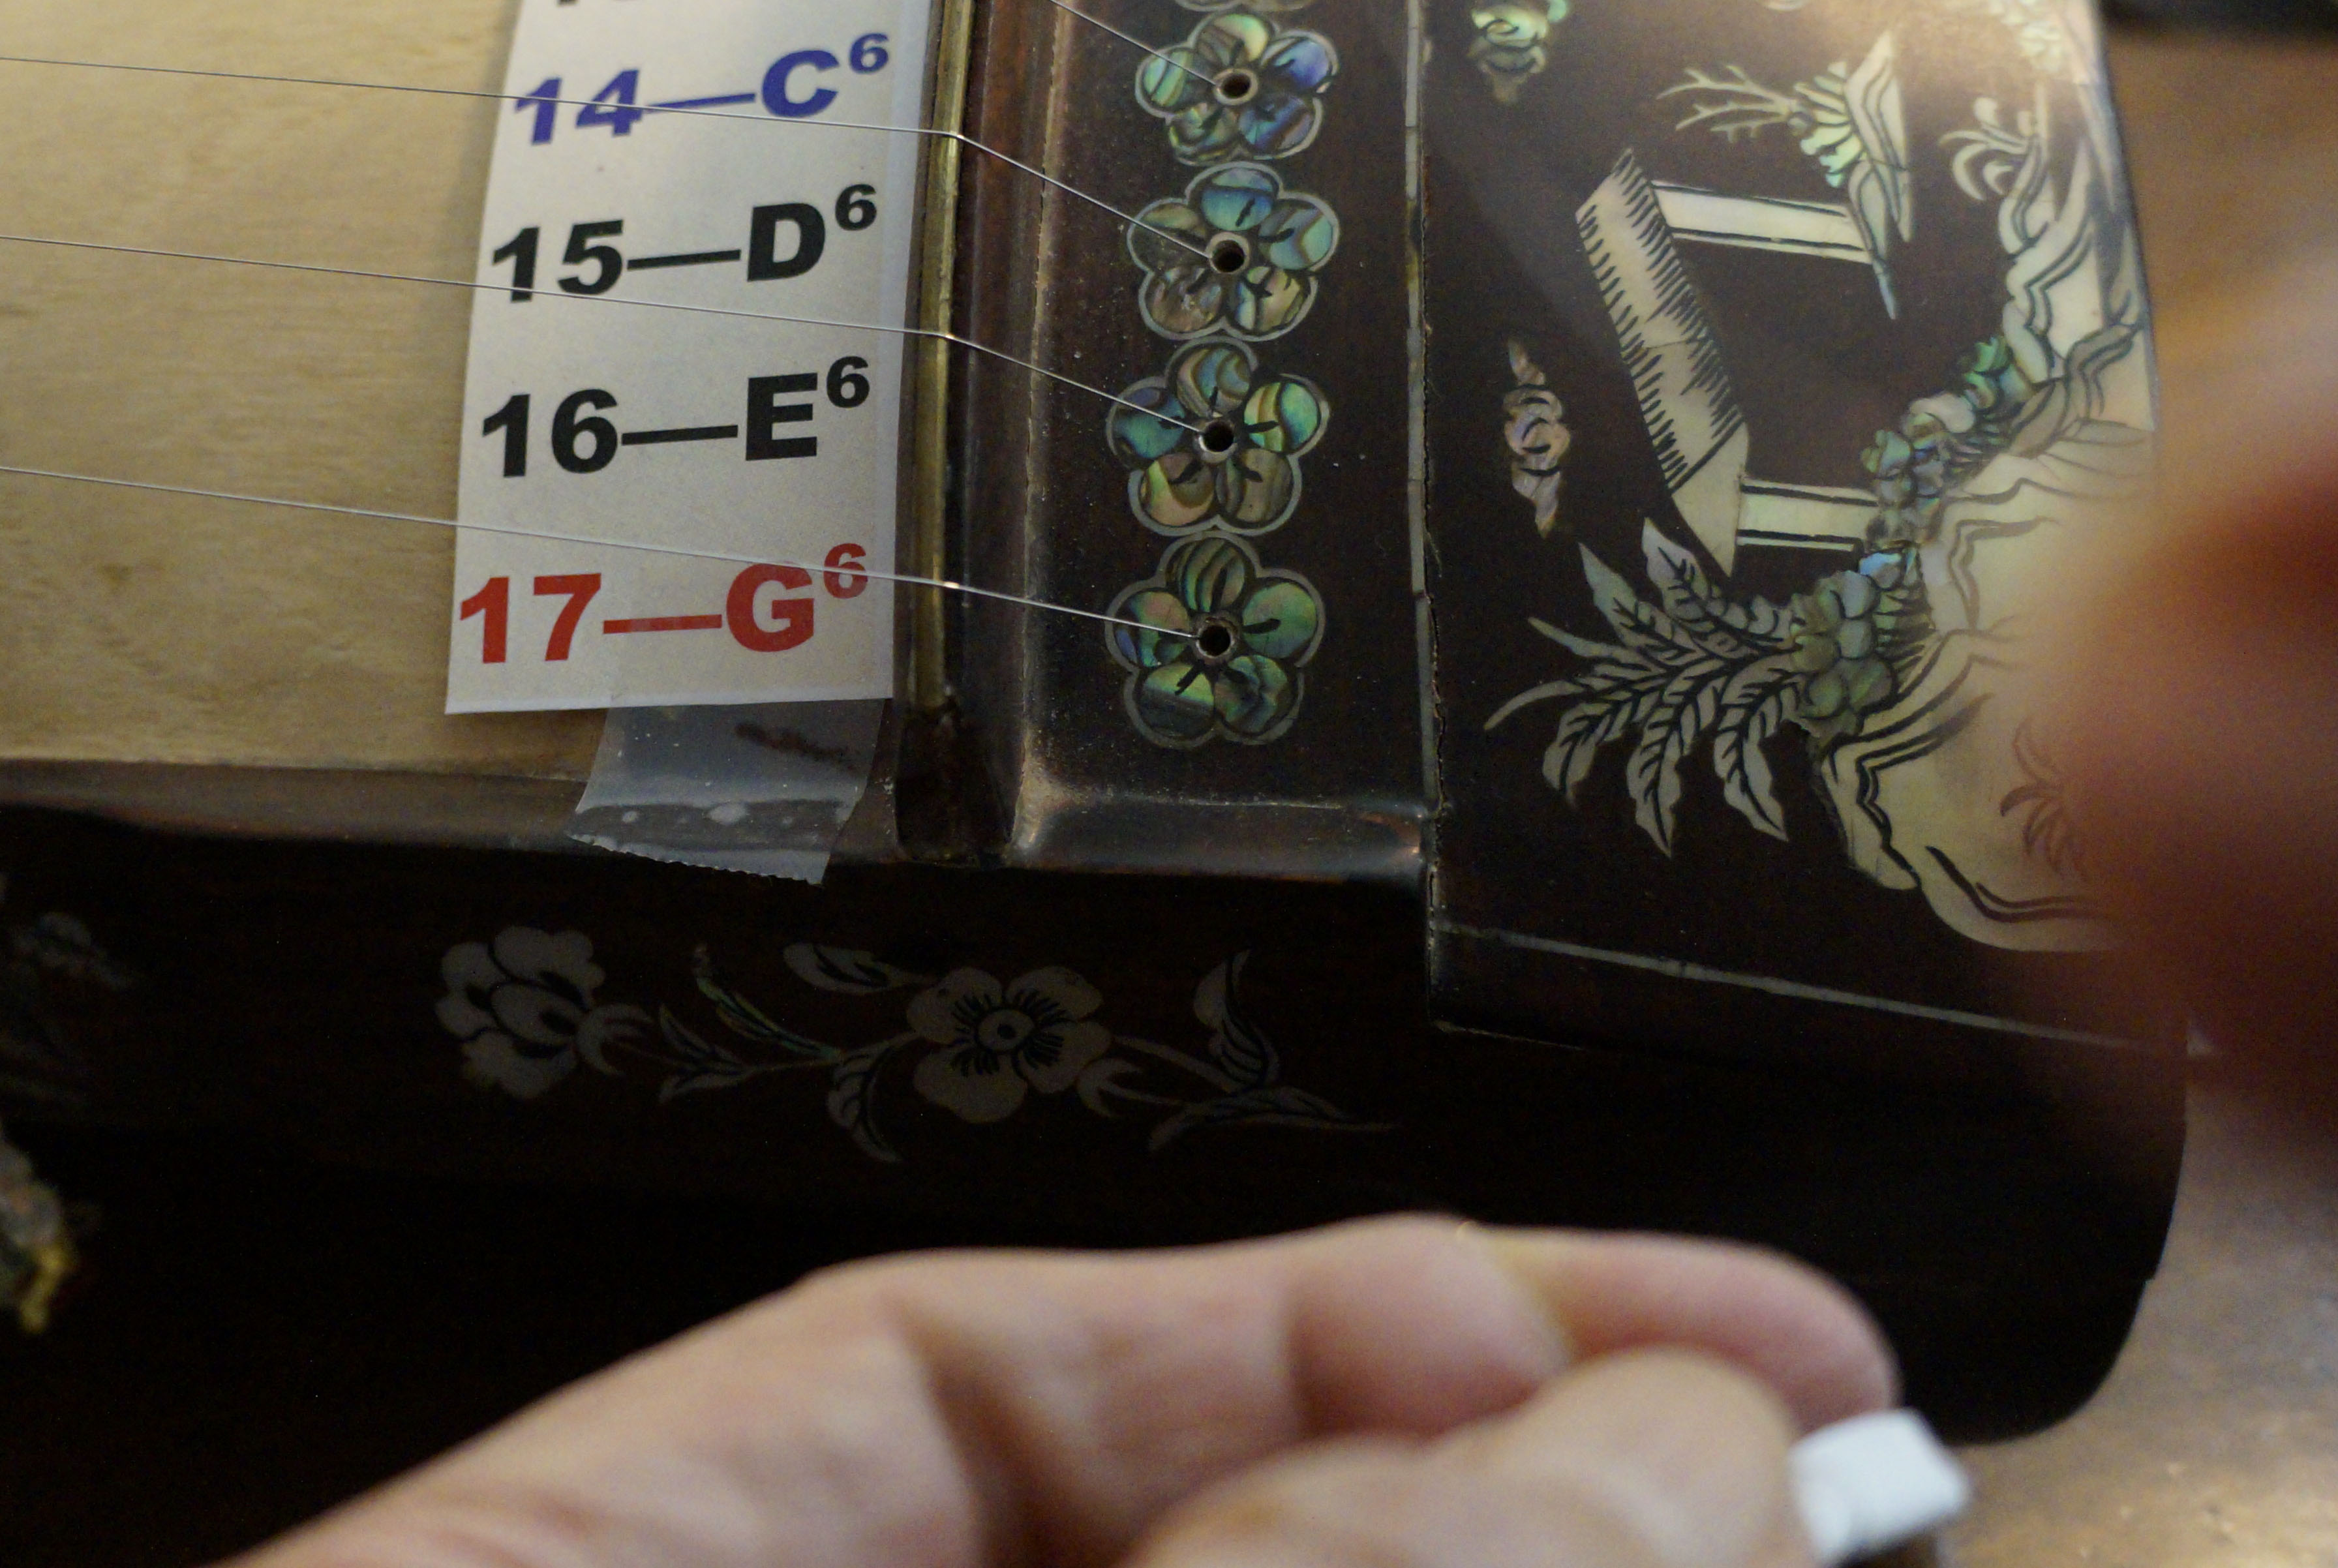
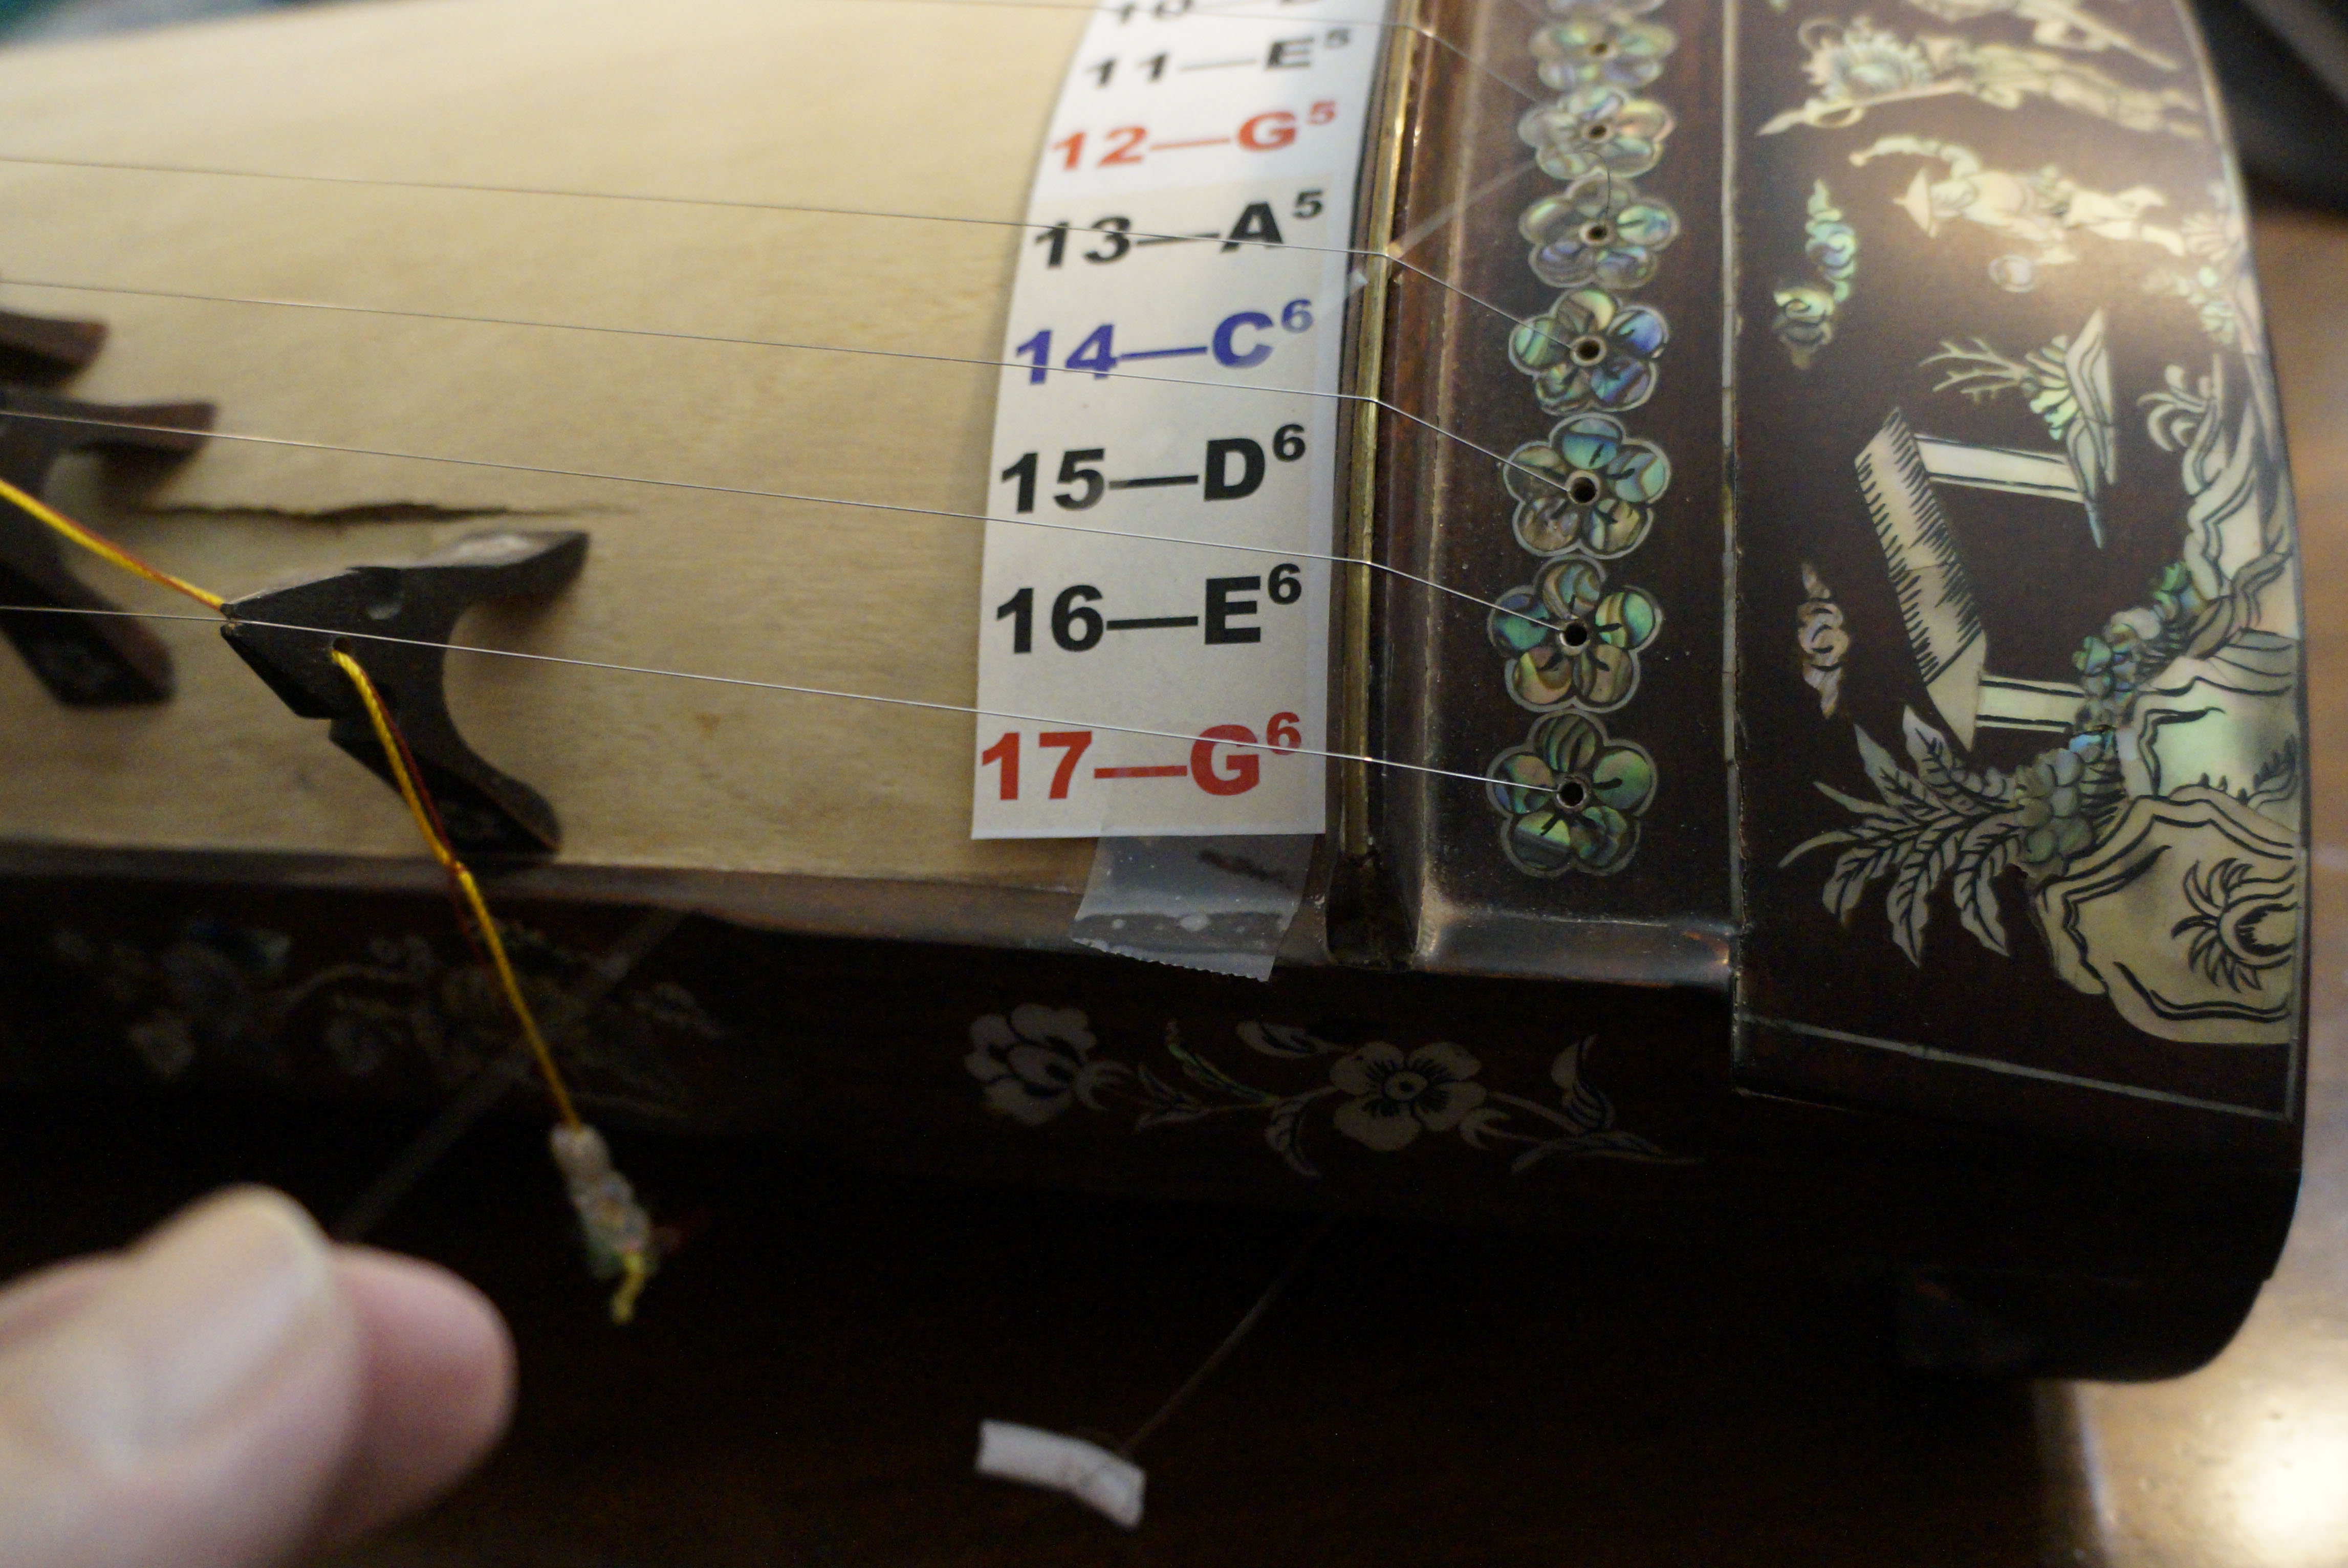
- Working on the other loose end of the string
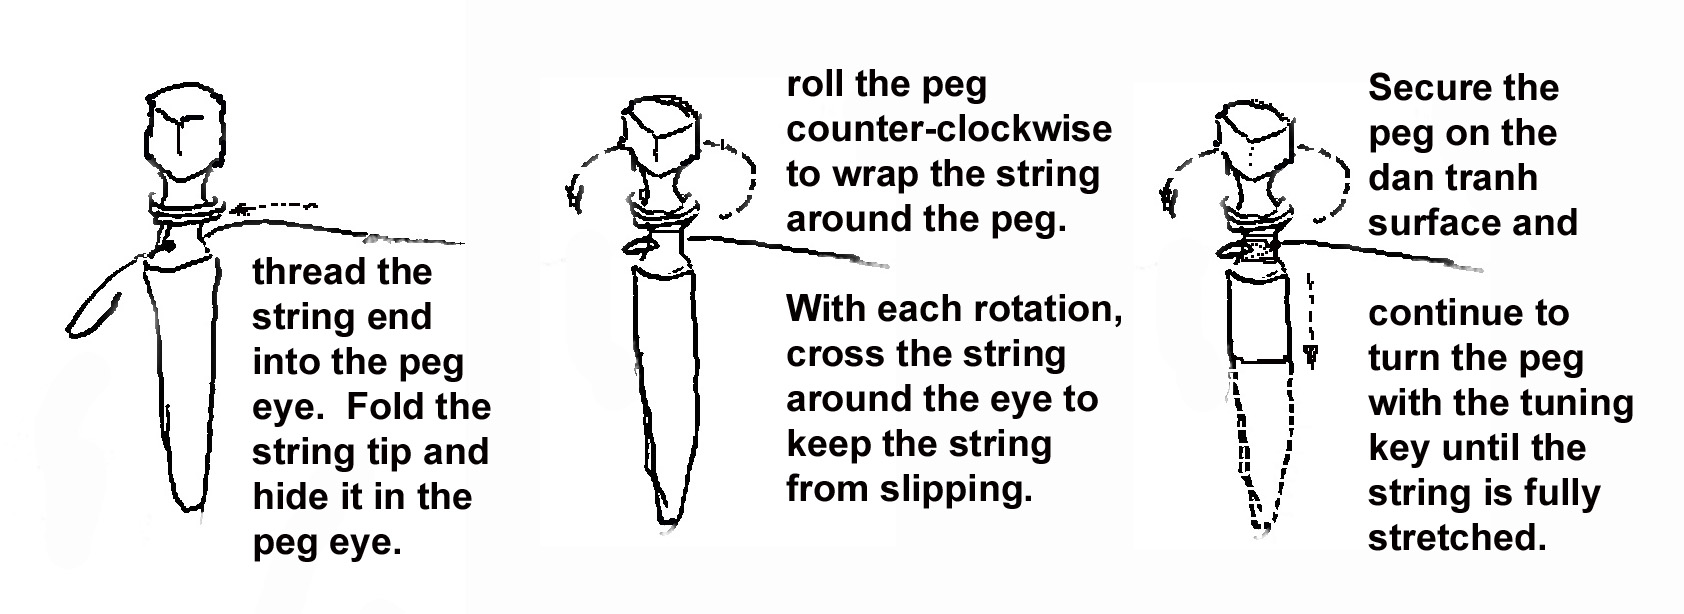
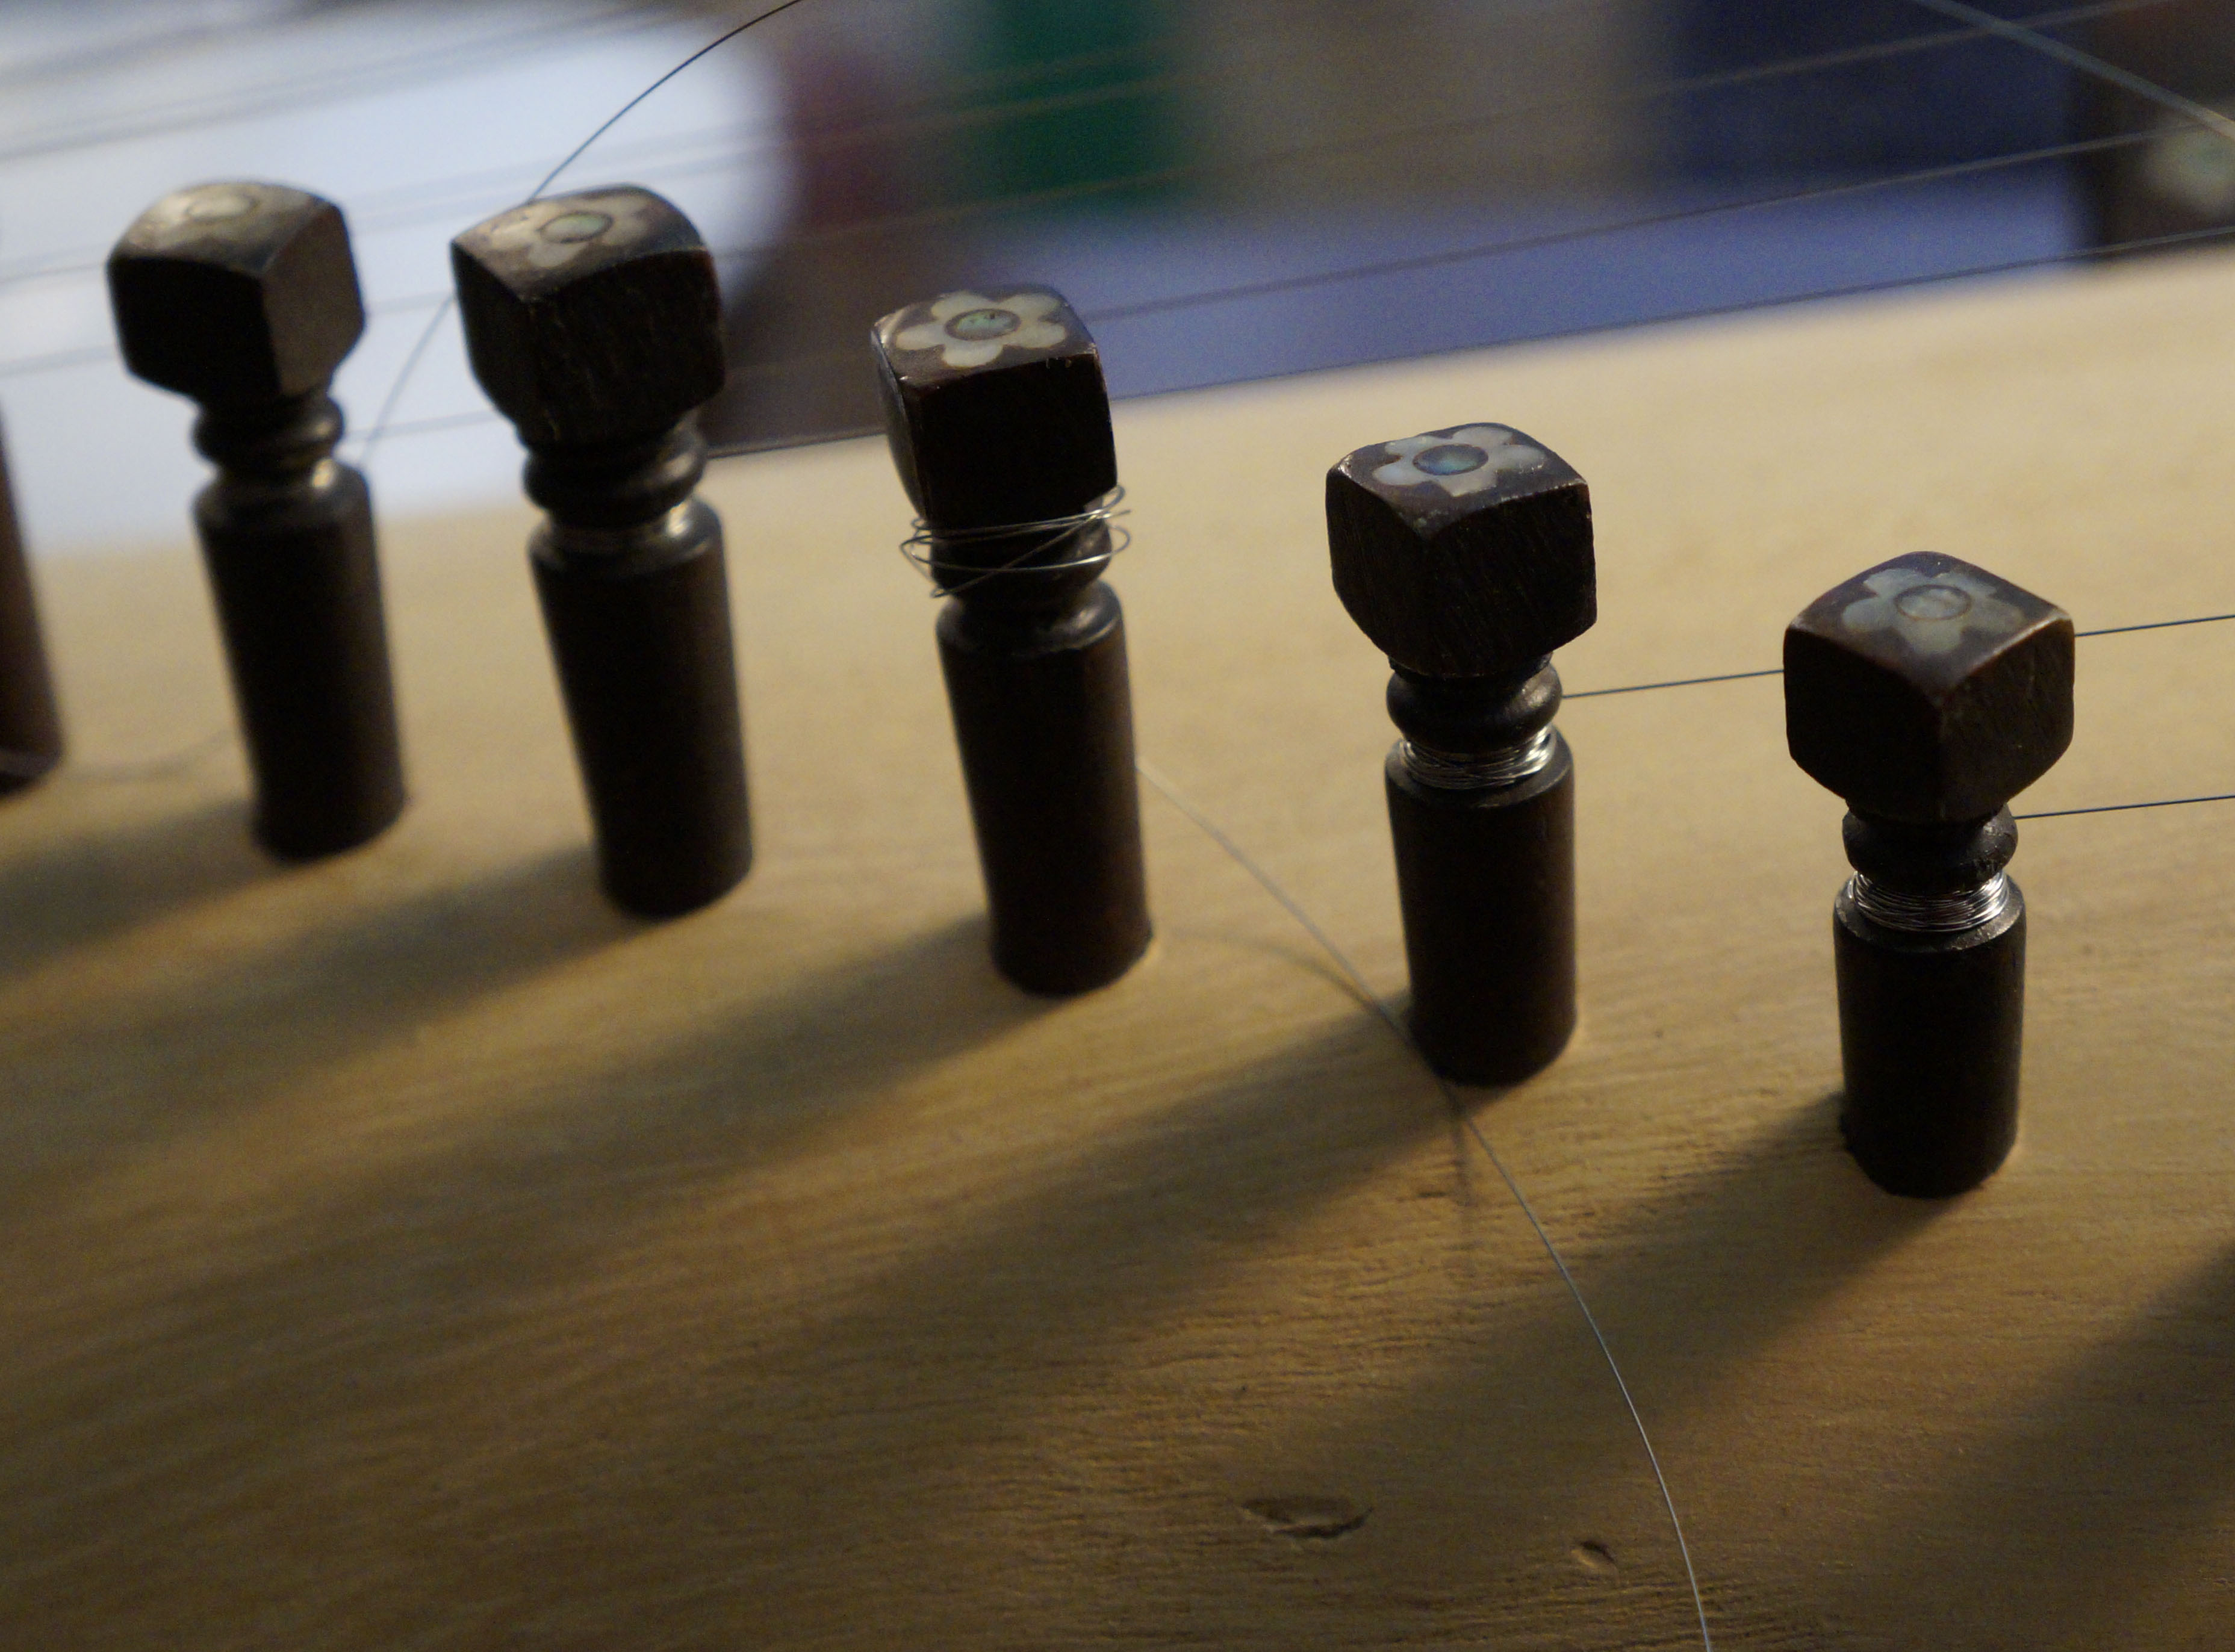
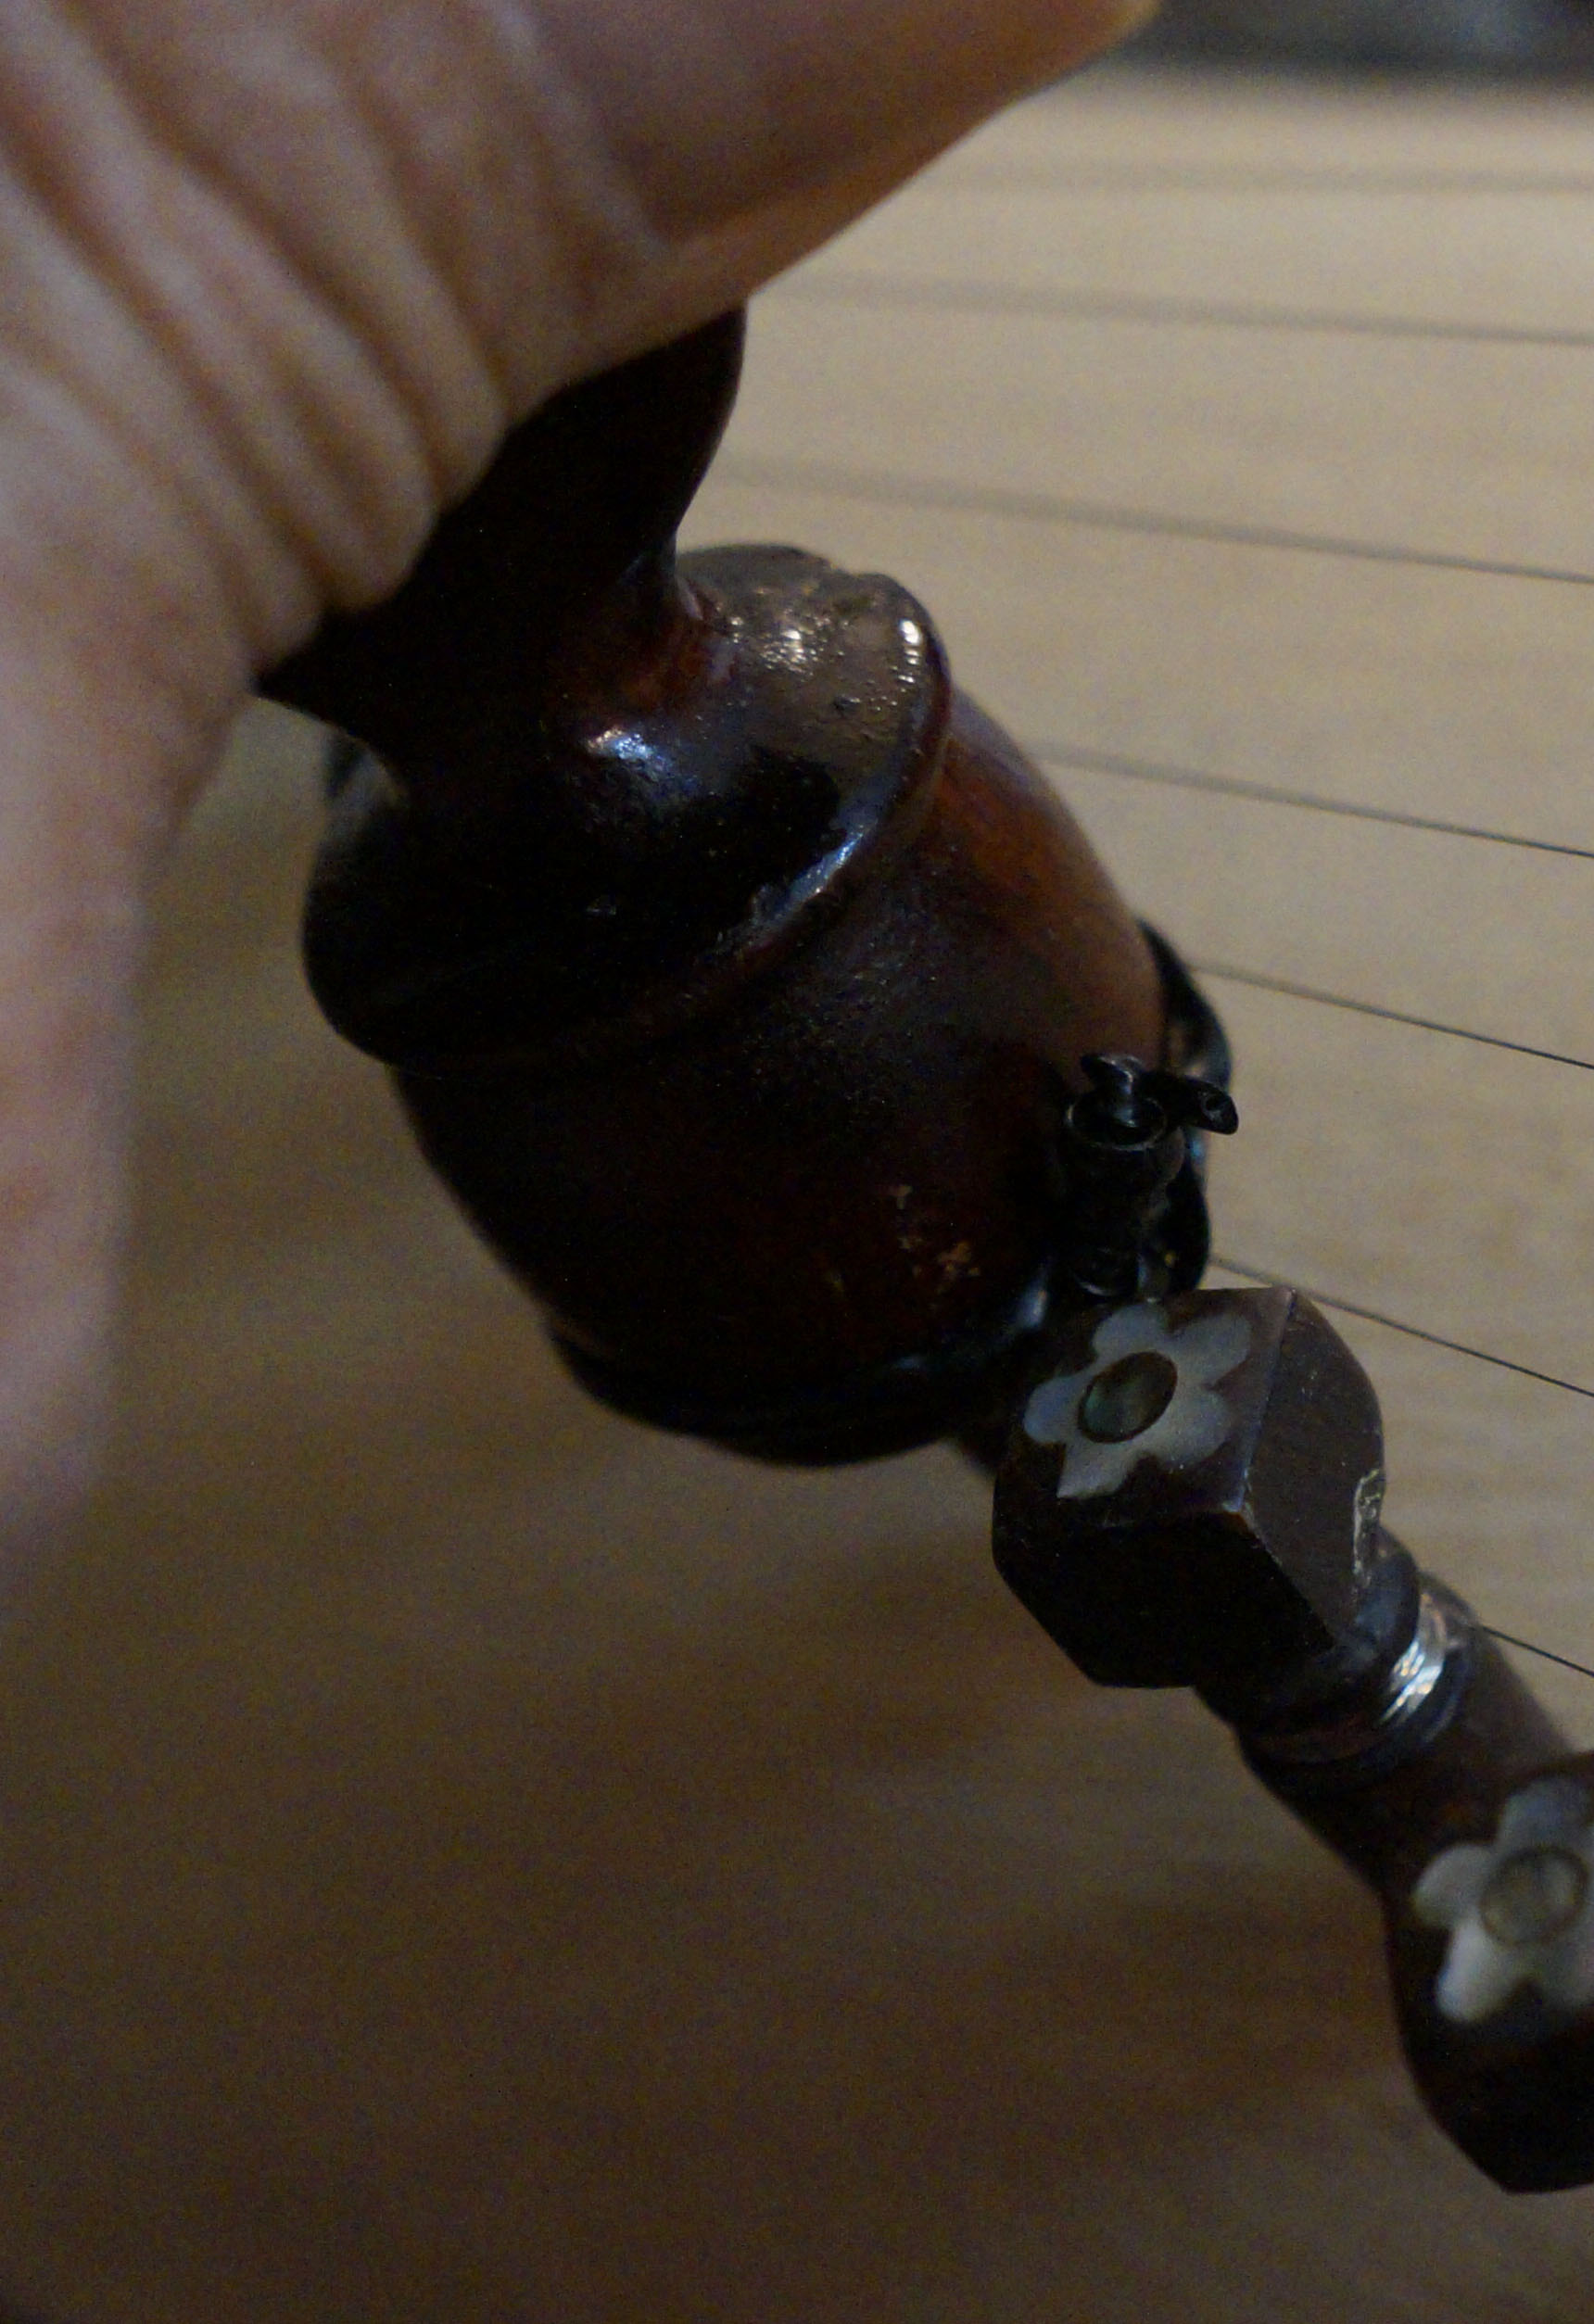
- Thread the end of the string in the eye of the peg.

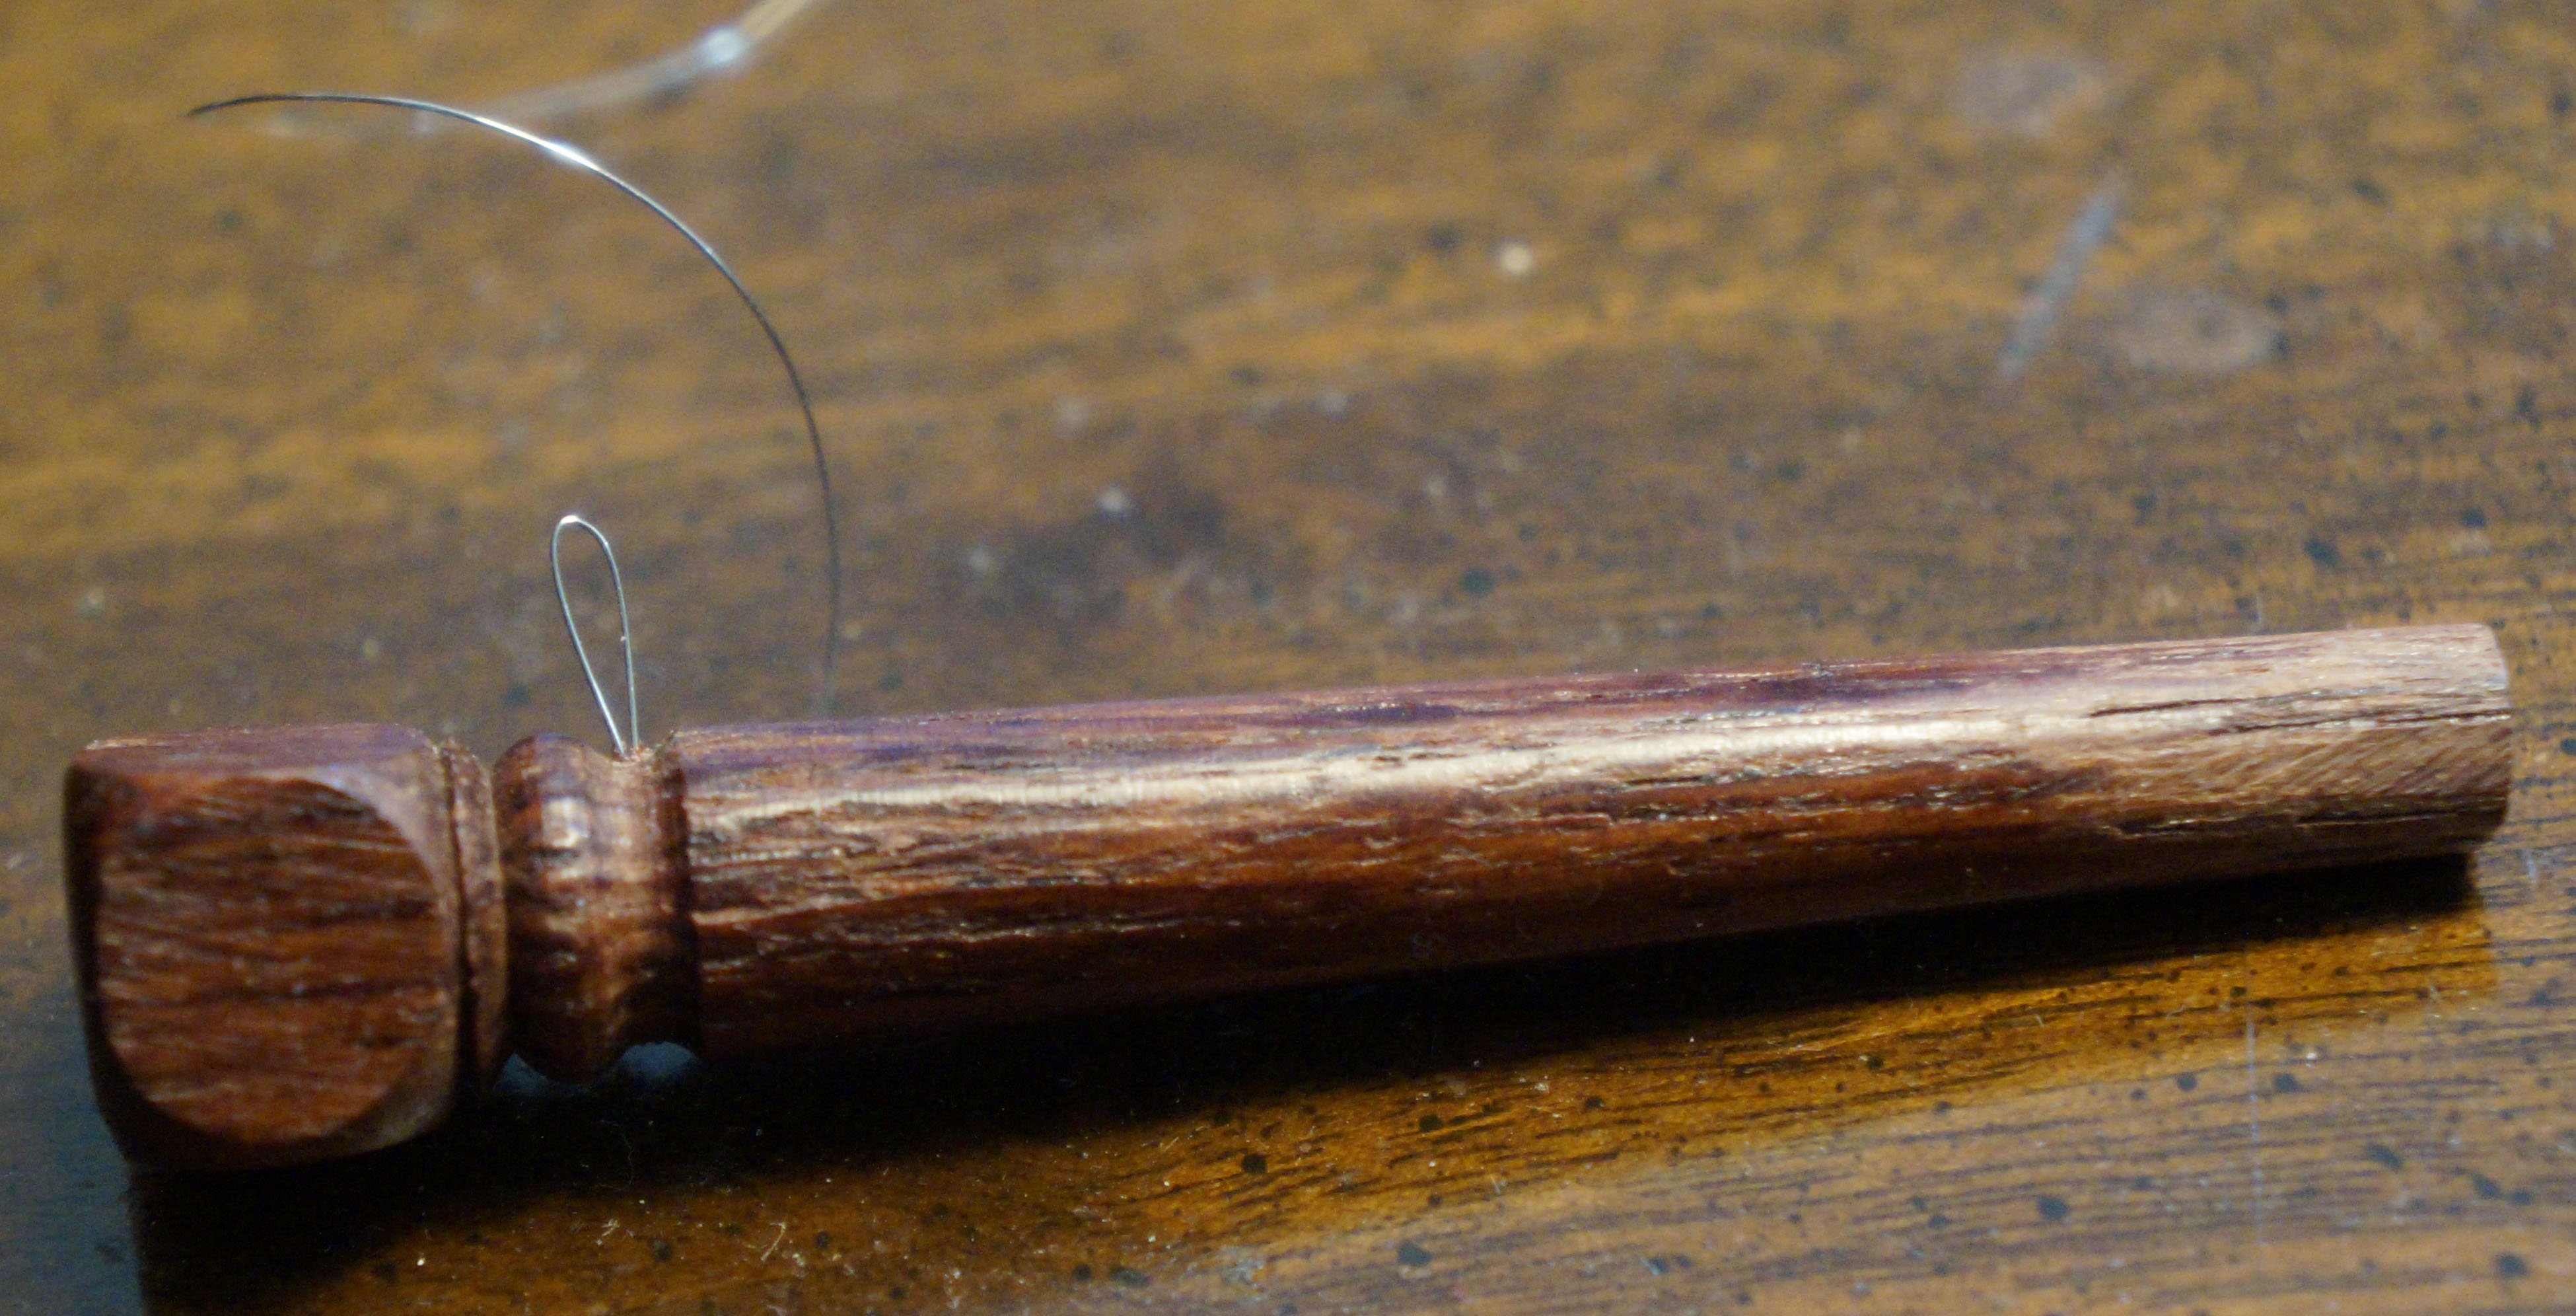
- Fold the string tip and hide it in the peg eye, and begin to roll the peg counter-clockwise, while keep the tip of the string from slipping off the peg.
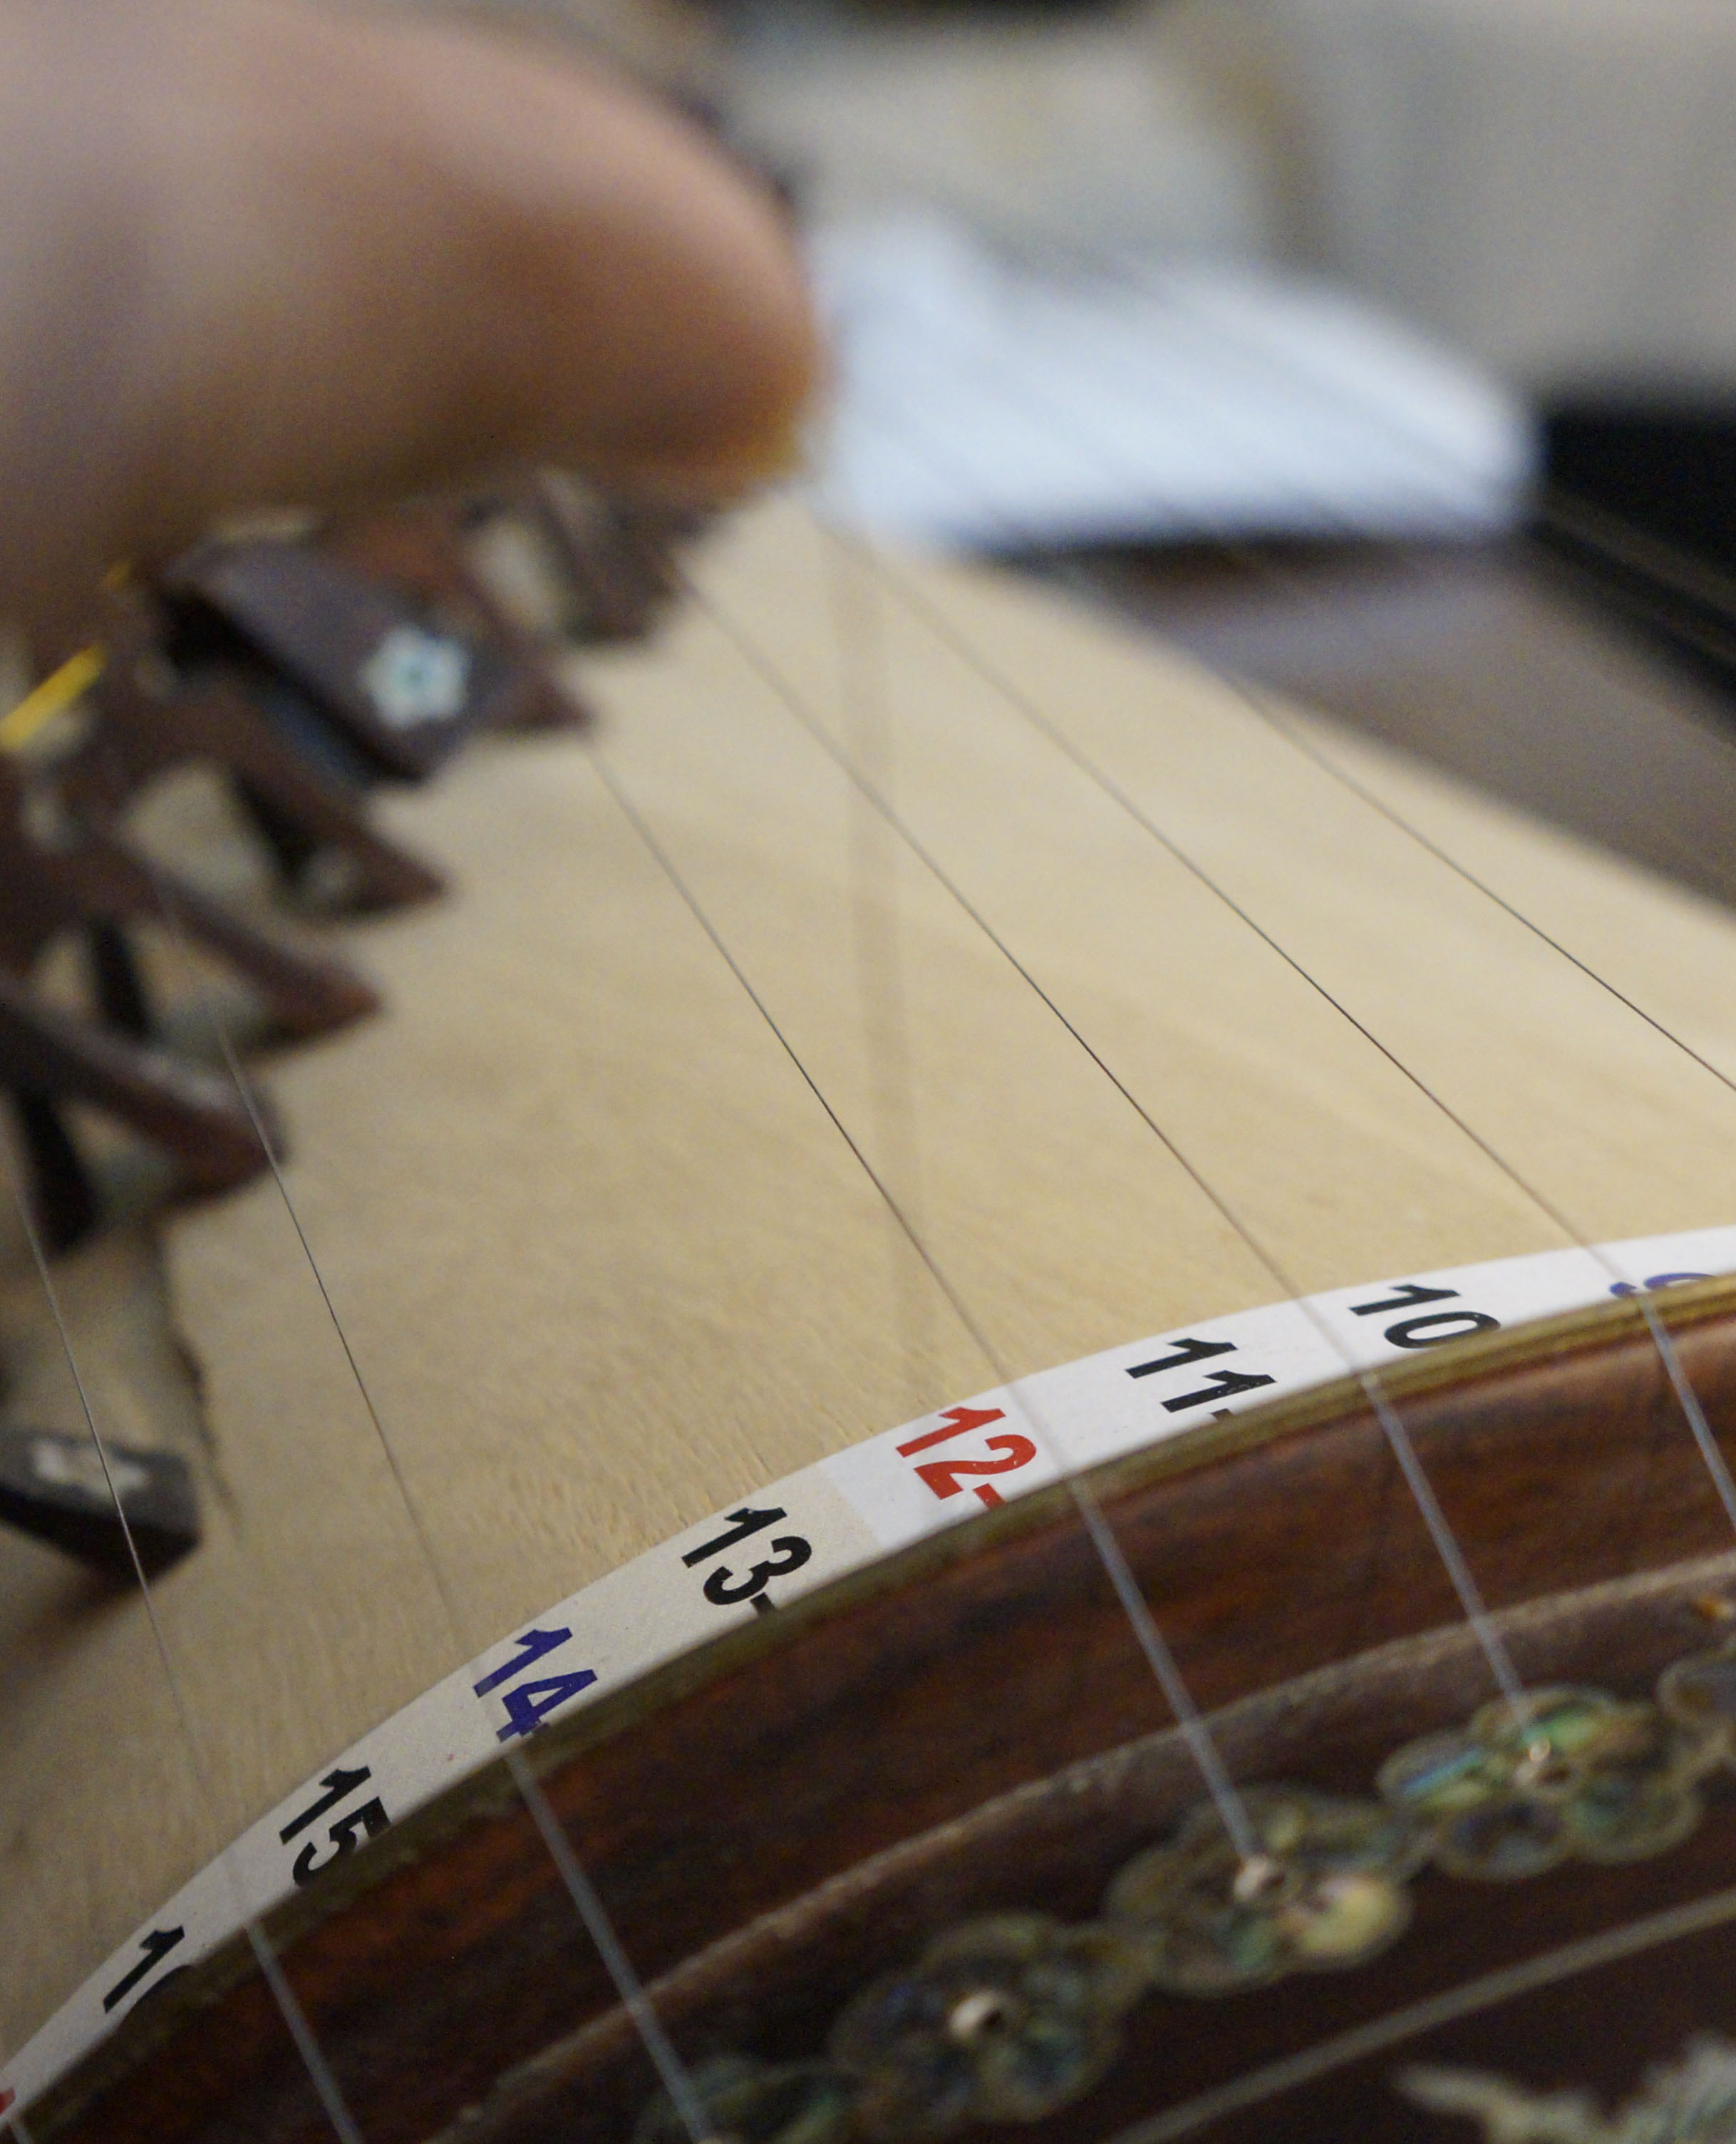
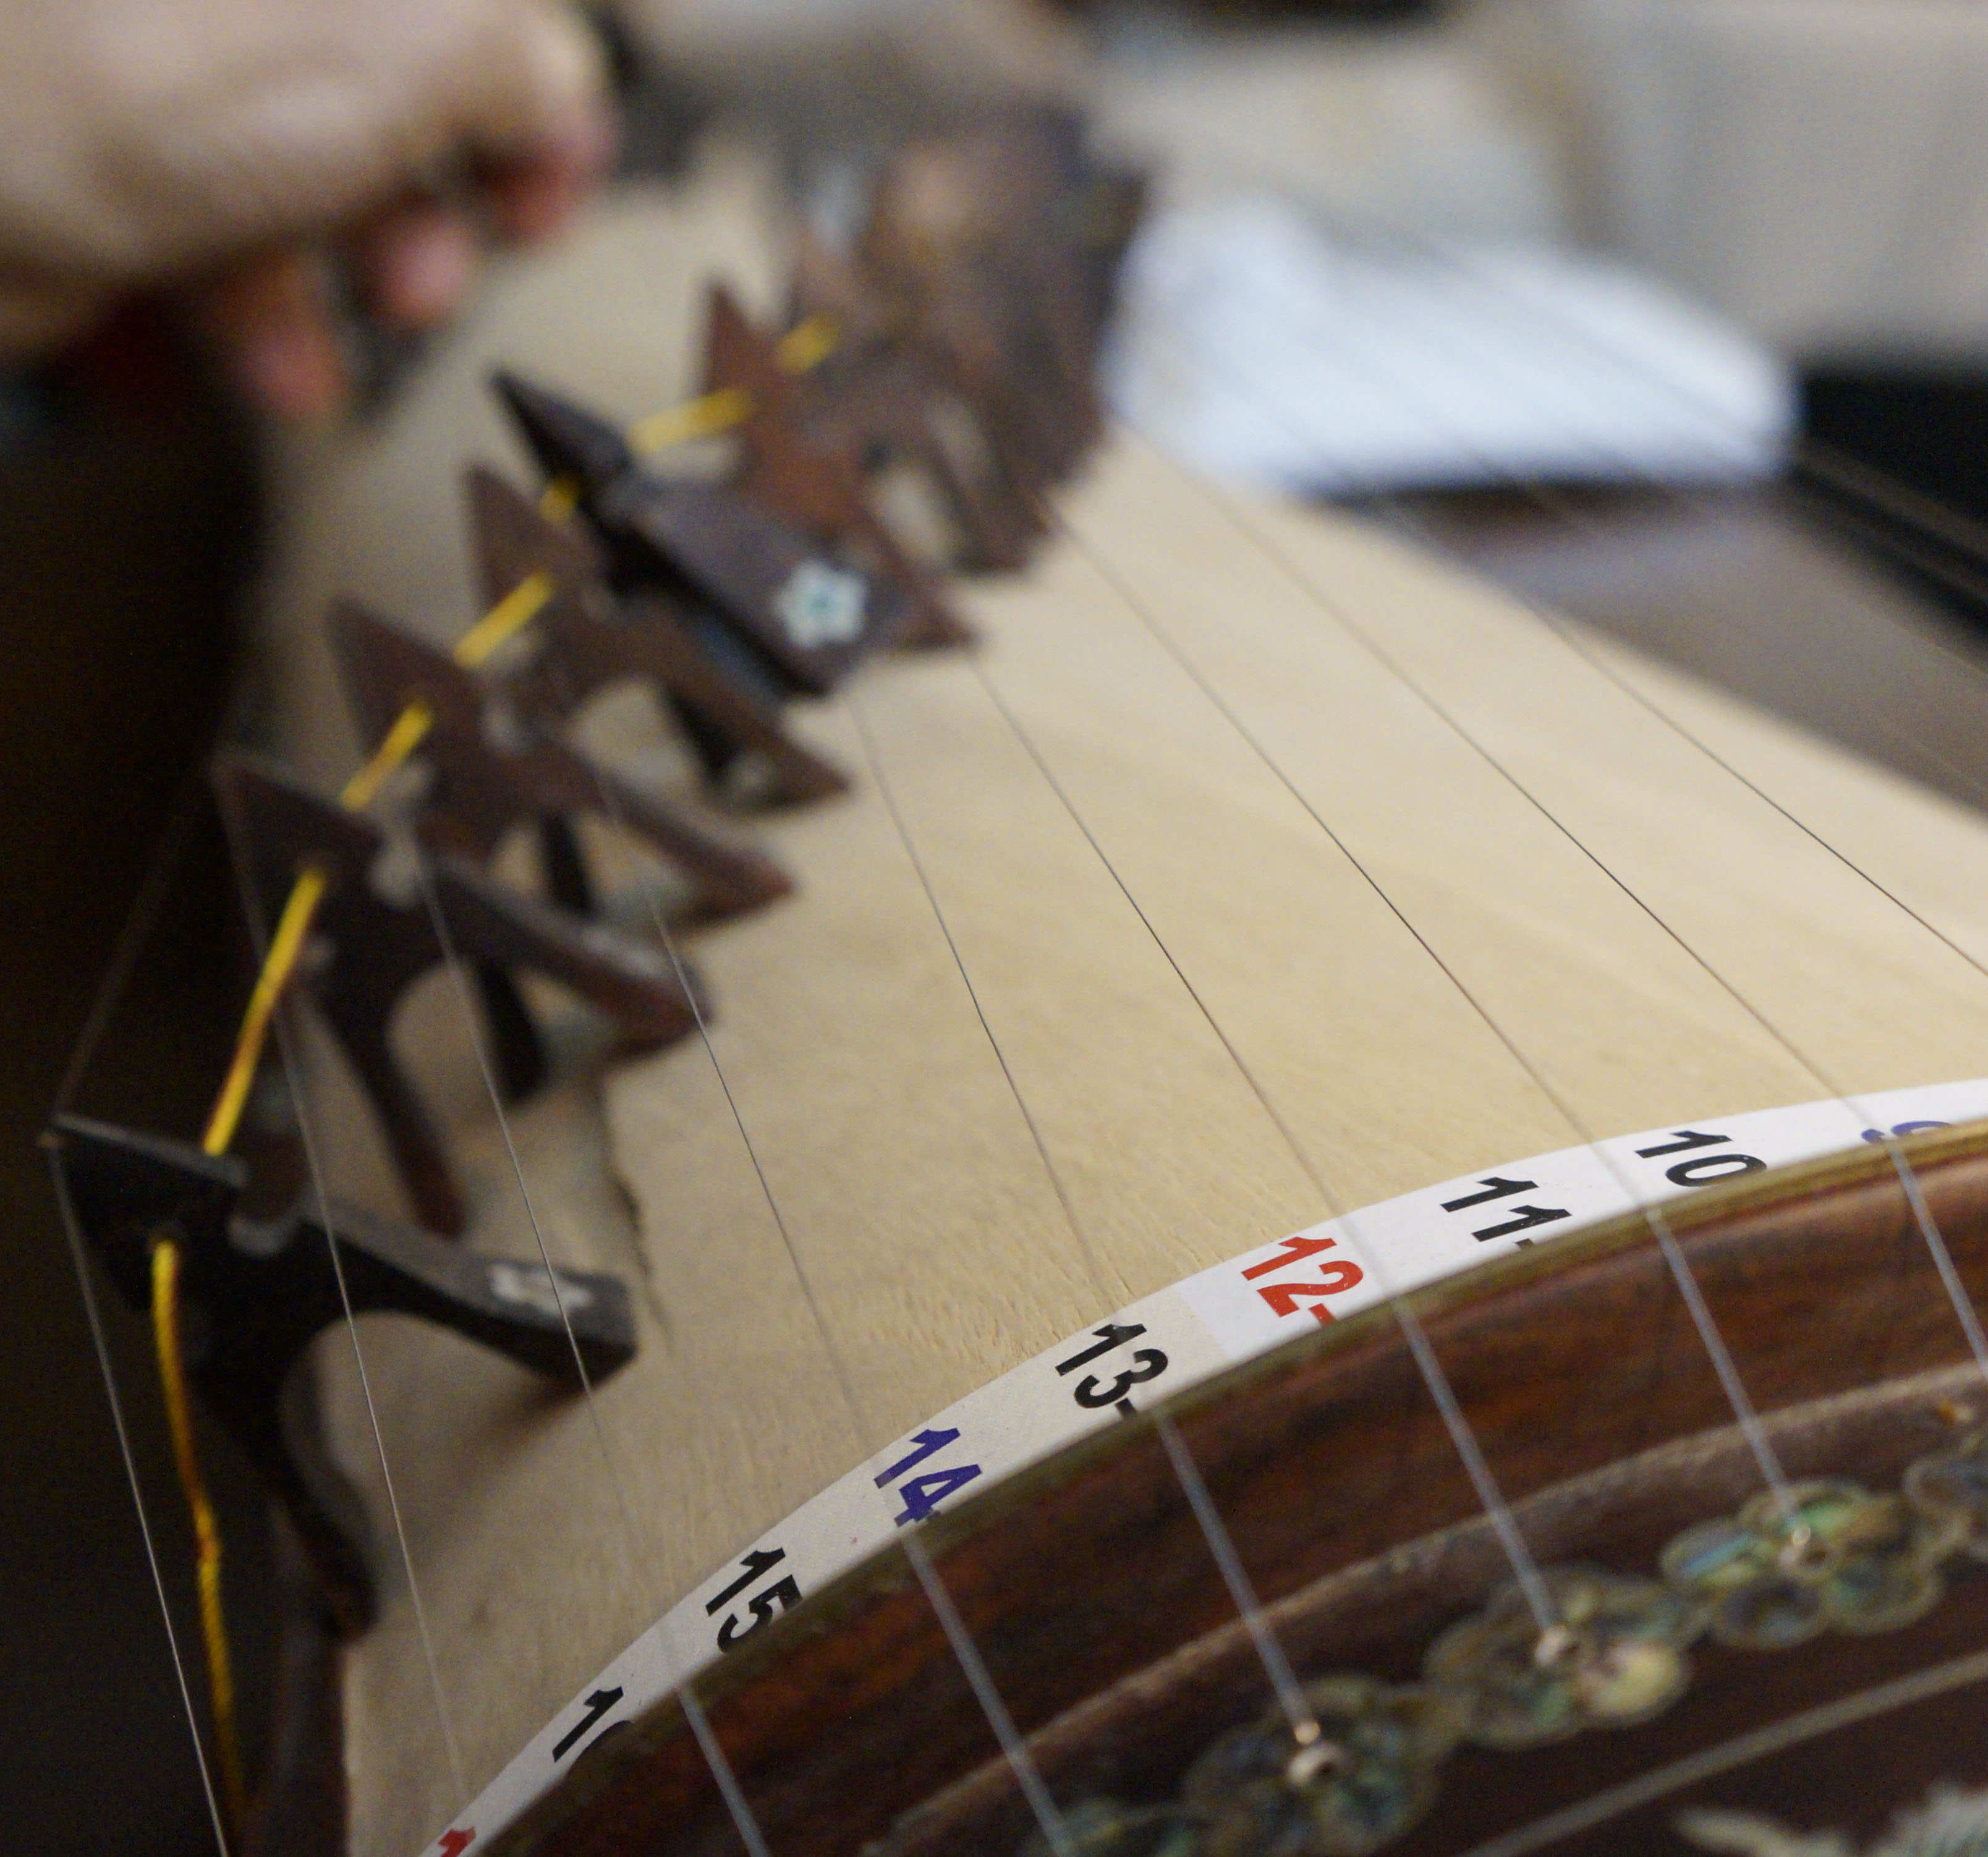
- Continue to roll the peg counter-clockwise while locking the string (by wrapping the string onto itself) to keep it from slipping off.
- Push the peg into the peg eye on the đàn tranh surface, and turn the peg counter-clockwise with a tuning key until the string is fully stretched from the bridge to the peg.
- Continue to turn the tuning key counter-clockwise until the string is well stretched and secured.
- Rest the middle of the string on the top of its swallow.
- To keep the string from breaking, because of the pressure on both ends, it is advised to use the left hand and bend the string gently, to distribute the tension.
|


